
Last updated October 9, 2026
Full 25-point door and opener safety check with every visit - springs, cables, rollers, tracks, and your LiftMaster or Chamberlain opener included
You get a price before we start. It does not change when the truck arrives.
 Before
 After
After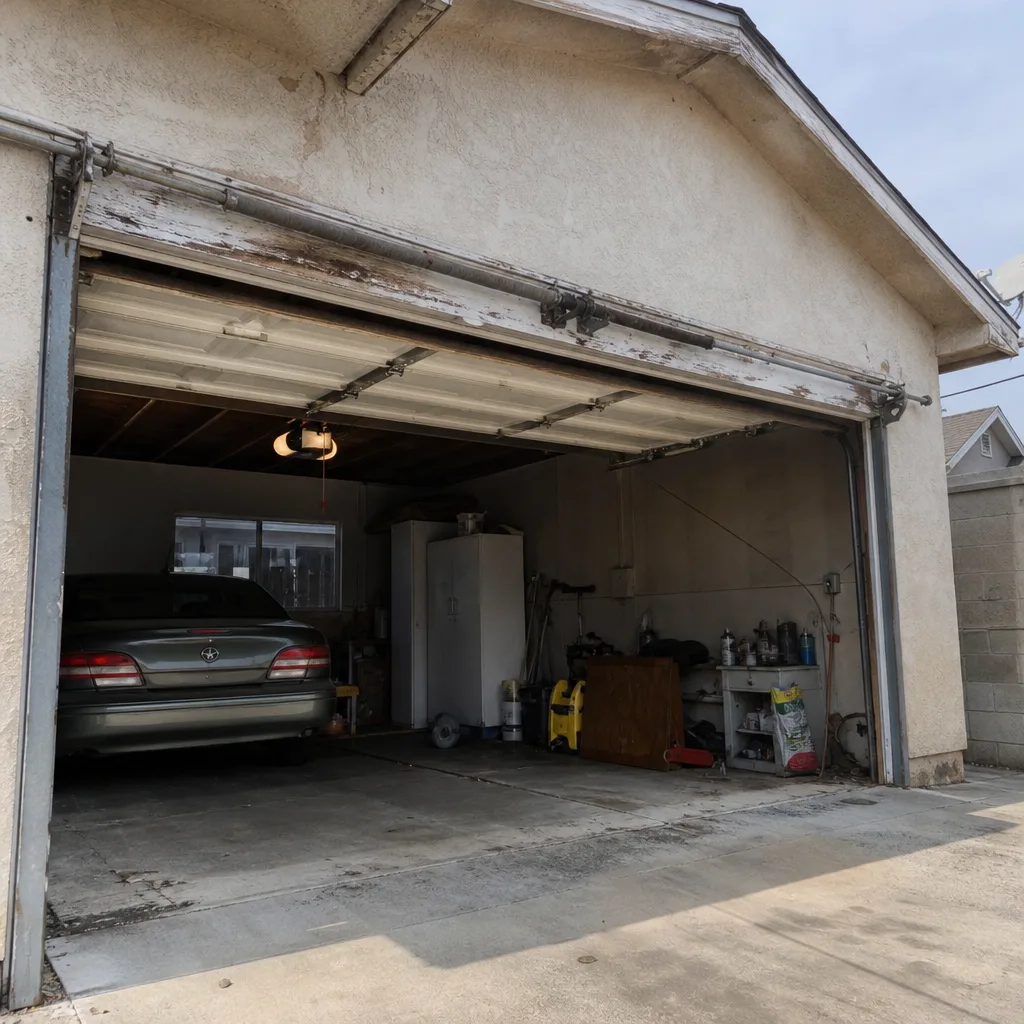 Before
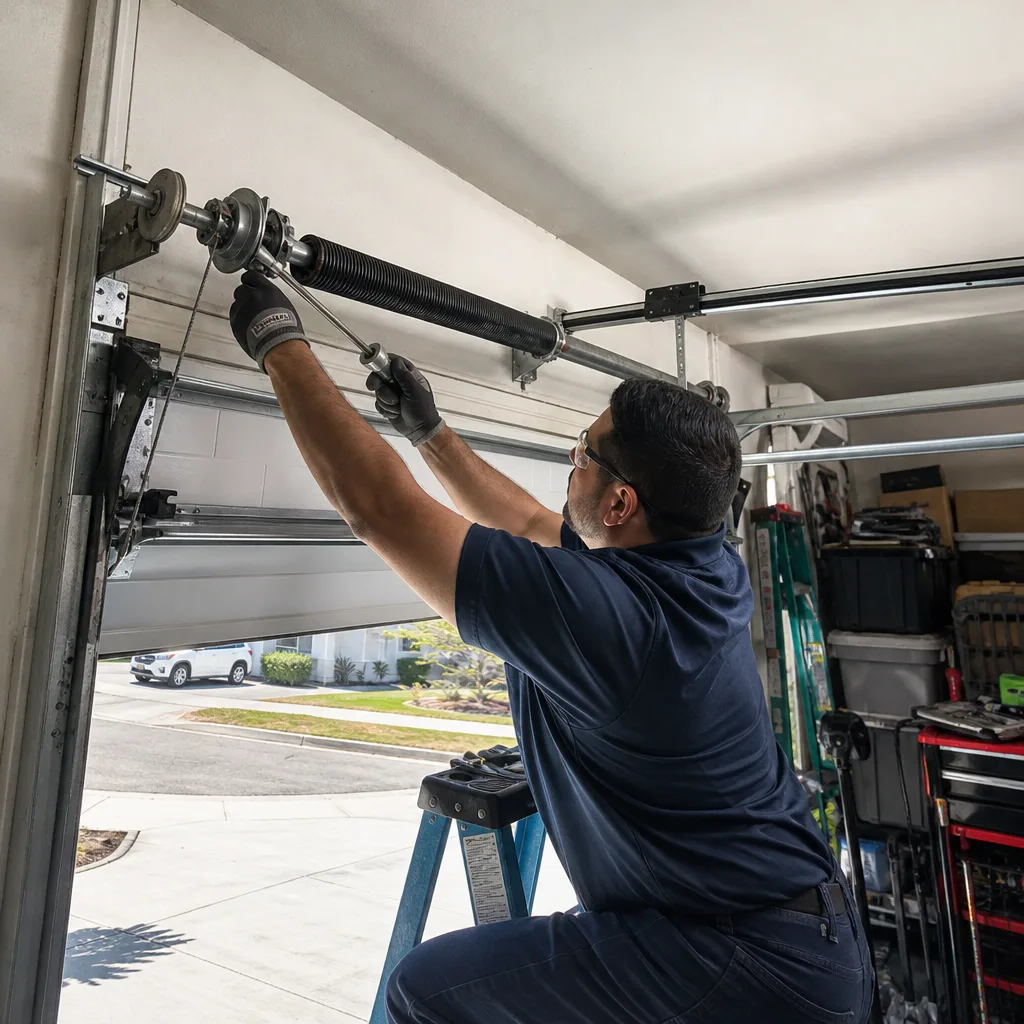 After
After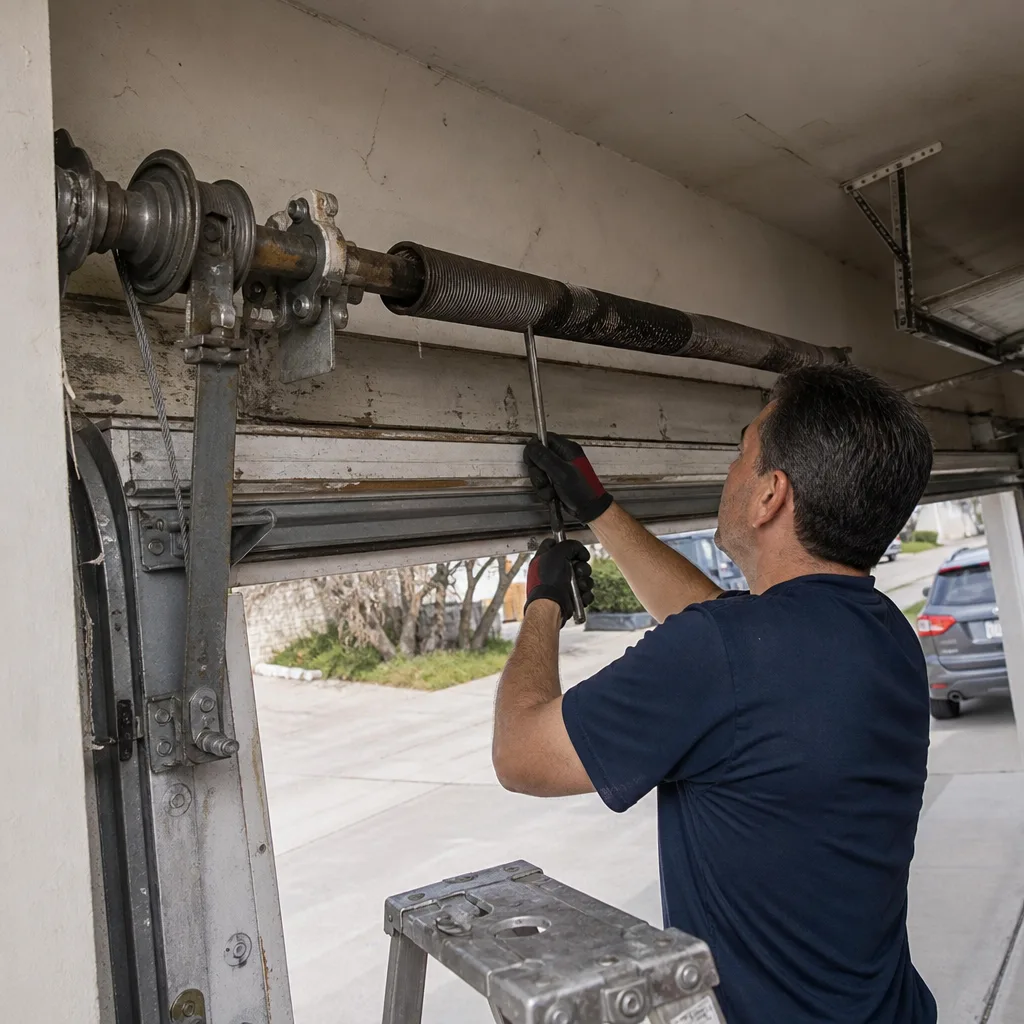 Before
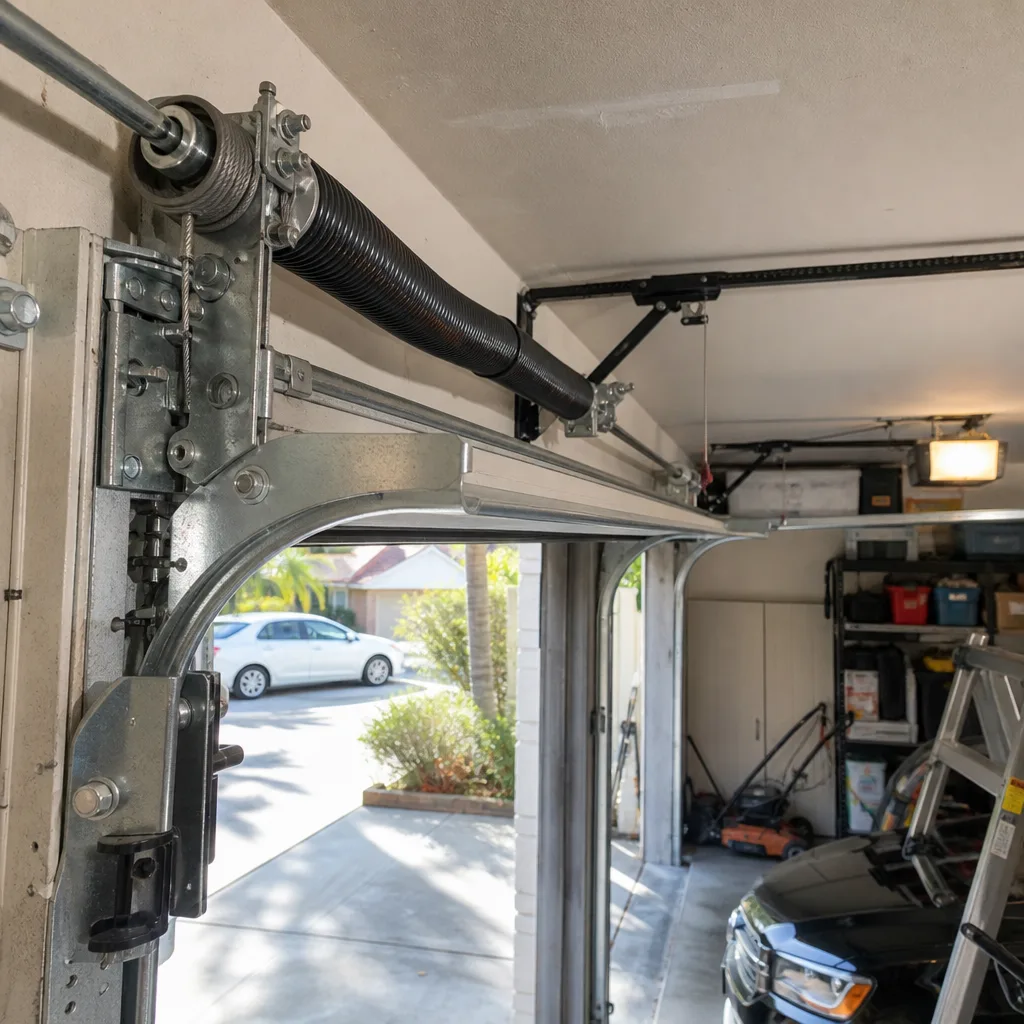 After
AfterGarage Door Opener Repair Troubleshooting: Common Problems and How to Fix Them
When a technician asks “what is it doing?” and you can answer “the motor runs for two seconds and stops, but the door doesn’t move,” you’ve just told them the trolley carriage drive gear has likely stripped. And that’s an $80 part, not a $400 opener replacement. Most Los Angeles homeowners call us describing the same seven failures, just in different words. This guide walks you through those seven problems, the component behind each one, and the questions to ask before anyone turns a wrench on your opener.
Quick Answer
Garage door opener troubleshooting starts with identifying the symptom: a hum with no movement usually means a stripped drive gear or broken trolley, immediate reversal points to the limit switch or an obstruction, and a door that opens but won’t close typically means misaligned photo-eye sensors. Most Garage Door Opener Repair jobs in Los Angeles cost $95 to $250 for parts and labor, with a full opener replacement running $350 to $600 installed. Run the monthly safety reverse test before calling anyone, and always ask for a written quote before authorizing work.
Table of Contents
- The Symptom-to-Component Decision Tree: Diagnosing in 30 Seconds
- Motor Hums but Door Doesn’t Move: Stripped Gear or Broken Trolley
- Door Reverses Immediately: Limit Switch and Obstruction Problems
- Remote Works but Wall Button Doesn’t: Wiring and Wall Panel Failures
- Neither Remote nor Button Works: Logic Board and Power Issues
- Door Opens but Won’t Close: Photo-Eye Misalignment and Blockage
- Sudden Failures vs. Gradual Wear: Why the Difference Matters
- The Monthly Safety Reverse Test Every Homeowner Should Run
- Common Mistakes to Avoid
- When to Call a Professional
- Frequently Asked Questions
- The Bottom Line
The Symptom-to-Component Decision Tree: Diagnosing in 30 Seconds
Ninety percent of garage door opener calls can be traced to one of seven specific component failures. Here’s the decision tree we use on the phone with Los Angeles homeowners. Notice how the symptom names the part.
- Motor hums, door doesn’t move: Stripped drive gear or broken trolley carriage. The motor is working; the connection to the door is not.
- Door starts, then reverses before fully closing: Limit switch set incorrectly or an obstruction in the door’s path. The opener thinks it hit something.
- Remote works, wall button doesn’t: Wall button failure or a short in the low-voltage wiring run. The opener itself is fine.
- Neither remote nor wall button works: Logic board failure or no power to the unit. Check the outlet first, then the board.
- Door opens but won’t close: Photo-eye sensors are misaligned or blocked. This is a safety lockout, not a mechanical failure.
- Door closes but immediately reopens: Photo-eye interruption at the bottom of travel, or the close-force setting is too sensitive.
- Door moves unevenly or jerks: Worn drive gear, loose chain or belt tension, or the door itself is out of balance and dragging on the track.
In our experience serving Los Angeles since 2001, roughly two-thirds of “opener problems” are actually door problems: a broken torsion spring, misaligned track, or worn rollers that force the opener to work against resistance. That’s why a good technician checks the door balance before touching the opener. LiftMaster, Chamberlain, and Genie openers all have their own failure profiles, but the symptom-to-component logic above applies across every brand we service, from Doyle Garage Door Repair home service calls to full Garage Door Opener Repair in Grandview diagnostics.
Motor Hums but Door Doesn’t Move: Stripped Gear or Broken Trolley
When you press the remote and hear a hum or grind but the door stays put, you’re hearing the motor spin without any connection to the door. Two components fail this way: the drive gear, a nylon gear inside the opener housing that transfers motor rotation to the chain or belt; and the trolley carriage, the sliding assembly that grips the rail and pulls the door arm.
Trolley carriages wear differently depending on the brand. LiftMaster and Chamberlain units use a plastic carriage with a metal engagement pawl. When the pawl breaks or the carriage teeth strip, the motor runs and the chain moves, but the carriage doesn’t travel. Raynor and Craftsman models often use a one-piece metal carriage with a spring-loaded release. If that release spring weakens with age, the carriage disconnects and the door won’t move even though everything else works.
The drive gear is a known weak point on chain-drive LiftMaster and Chamberlain openers built before 2015. The nylon gear is deliberately sacrificial: it’s designed to strip before the motor burns out. In Los Angeles, where summer garage temperatures regularly exceed 100 degrees in neighborhoods like Woodland Hills, Encino, and Northridge, that nylon degrades faster than in coastal climates. We replace more drive gears between July and September than the rest of the year combined.
What this repair involves:
- Removing the opener cover to inspect the drive gear and trolley assembly
- Replacing the stripped gear with a manufacturer-brand part
- Rebalancing the door to confirm the opener isn’t fighting excess weight
- Testing the full open and close cycle with the force limits reset
A stripped drive gear typically runs $80 to $150 for the part and $90 to $140 for labor on a Garage Door Opener Repair in Grandview call. A broken trolley carriage falls in the same range. Compare that to $350 to $600 for a new opener installed, and it’s almost always worth repairing rather than replacing, unless the opener is 15 years old or more.
Door Reverses Immediately: Limit Switch and Obstruction Problems
The limit switch is the adjustable stop signal that tells the motor when “fully open” and “fully closed” are. Think of it as mechanical GPS for your door: it tells the opener exactly how far to travel before cutting motor power. When that setting drifts, the door behaves erratically.
On older openers, limit switches are physical dials or screws on the side or top of the motor housing. On newer LiftMaster and Chamberlain models, limits are set electronically through the wall control panel. The symptom pattern tells you which way the setting drifted:
- Door reverses before touching the floor: The “closed” limit is set too high. The opener thinks it has reached the floor and immediately reverses to open.
- Door slams into the floor and keeps pushing: The “closed” limit is set too low. The opener doesn’t know it has arrived and keeps driving the door into the concrete.
- Door opens but immediately reverses: The “open” limit is set too far back, pulling the door against the header and triggering the safety reverse.
Setting a limit switch is a 15-minute job if you know the procedure for your specific model. On a Chamberlain B970 or LiftMaster 8550, you set limits through the learn button and arrow keys on the wall panel. On an older Genie screw-drive, you adjust two physical screws with a flathead driver. Doing this wrong on a high-tension door can cause the opener to work against the torsion spring and damage both, so if you’re not sure of the model-specific procedure, call a professional rather than guessing.
Obstruction problems are simpler to rule out. Los Angeles garages are storage spaces as much as car ports. Boxes, bikes, and workout equipment drift toward the door track over time. Pull the release cord and run the door by hand: if it binds or catches anywhere along the track, the opener’s reversal is doing exactly what it was designed to do.
Remote Works but Wall Button Doesn’t: Wiring and Wall Panel Failures
When the remote still opens the door but the wall button does nothing, the opener’s receiver and motor are fine. The problem is in the wall button itself, or in the two-strand low-voltage wire running from the button to the opener’s logic board.
Wall buttons fail in predictable ways. The most common is a dead tactile switch inside the button housing, meaning you press it and nothing clicks or registers. Less common but still frequent: corrosion on the wire terminals behind the button, especially in Los Angeles garages near the coast where salt air accelerates oxidation. We see this regularly in Mar Vista, Playa del Rey, and Westchester.
Here’s the diagnostic sequence we follow:
- Press the wall button and listen for a faint click at the opener. No click means no signal arrived.
- Remove the wall button from the wall and touch the two wire ends together briefly. If the opener activates, the button itself is bad.
- If touching the wires doesn’t activate the opener, the wire run has a break, usually where it passes through the drywall or along the garage ceiling joists.
- Check the terminal screws at the opener end. Loose terminals cause intermittent wall-button failures that remote use never reveals.
Replacement wall buttons cost $15 to $45 and take ten minutes to swap. A broken wire run costs more, since the technician must pull and re-run the low-voltage line from the button to the opener. On most Los Angeles homes with an attached garage, that’s a $100 to $180 job. If the remote also stopped working, stop here and read the next section: you have a different problem entirely.
Neither Remote nor Button Works: Logic Board and Power Issues
When both the remote and the wall button fail simultaneously, the opener’s receiver has either lost power or lost its mind. The logic board is the circuit board inside the opener housing that processes signals from remote, wall button, and safety sensors, and tells the motor what to do. When it fails, the opener goes completely dark.
Before blaming the board, eliminate the simplest causes in order:
- Check the outlet: Los Angeles homes built before 1980 often have the garage opener on a GFCI circuit shared with bathroom or exterior outlets. A tripped GFCI kills the opener with no visible sign at the garage. Reset it and test again.
- Check the breaker: Openers should be on a dedicated 15-amp circuit, but older homes in neighborhoods like West Adams and Leimert Park sometimes have them piggybacked onto lighting circuits. A tripped breaker is a five-second fix.
- Look at the opener LEDs: LiftMaster and Chamberlain openers flash diagnostic codes through the learn button or LED screen. Count the flashes and match them to the model-specific chart inside the opener cover or online.
- Test the outlet with another device: A lamp or phone charger confirms whether the outlet is live. If the outlet is dead, the opener is fine and you need an electrician, not a garage door tech.
If power is confirmed and the opener still won’t respond, the logic board is the likely failure. Lightning strikes, power surges, and component age all kill boards. A replacement board for a current-model Chamberlain or Genie runs $80 to $180 for the part. The catch: on budget openers, the board costs nearly as much as a new unit, and we’ll usually tell you that honestly. On a premium LiftMaster, a board replacement is a solid investment that extends the unit’s life five to eight years.
Older Craftsman openers, mostly installed in Los Angeles homes during the 1990s construction boom, are notorious for cold solder joints on the receiver board. The symptom: the opener works normally all day, then refuses to respond for an hour, then works again. That thermal cycling pattern is the classic signature of a failing board, not a failing remote.
Door Opens but Won’t Close: Photo-Eye Misalignment and Blockage
The photo eyes, sometimes called safety sensors or photoelectric eyes, sit on either side of the door opening about six inches off the floor. One sends an infrared beam; the other receives it. If the beam is broken, the opener refuses to close the door. This is a mandatory safety feature required by federal law since 1993, and it’s the single most common reason a door opens fine but won’t close.
Misalignment is the usual culprit. The sensors are mounted on the door tracks, and tracks move. Every full open-and-close cycle applies vibration to the track, and over months that vibration nudges the sensors out of alignment. A door that bumps into one sensor or track bracket is enough. In Los Angeles, seismic activity is a real factor: we routinely see misaligned photo eyes after small tremors that homeowners barely noticed.
What to check, in order:
- Look at the sensor LEDs. Both should be lit solid. A blinking or dark LED on either sensor indicates misalignment, a wiring fault, or sun interference.
- Clean the lenses. Dust, spider webs, and car exhaust film reduce signal strength enough to trip the safety circuit.
- Straighten the sensor brackets. Loosen the wing nut, rotate the sensor until the receiving LED lights solid, then retighten.
- Check for sun glare. In Los Angeles, garage doors facing west into afternoon sun occasionally experience photo-eye interference. The sun’s infrared overpowers the sensor’s beam. A simple cardboard shade or repositioning the sensor fixes this.
- Check the wiring. A staple through the sensor wire, or a rodent chewing the insulation in the wall, creates a short that mimics misalignment.
If the photo eyes are aligned, clean, and wired correctly, but the door still won’t close, the close-force setting may be too low. The opener interprets the normal resistance of the door as an obstruction and reverses. This setting is adjusted at the opener or through the wall panel, and a technician can do it in minutes. For a broader look at installation factors, see our Garage Door Installation in Grandview page.
Sudden Failures vs. Gradual Wear: Why the Difference Matters
Garage door opener problems fall into two categories, and knowing which one you’re dealing with changes the urgency and the cost.
Sudden failures appear without warning: a broken torsion spring, a blown logic board after a power surge, a snapped belt. These are the emergencies. A broken spring, for example, has nothing to do with the opener, but it often gets blamed first because the door suddenly won’t move more than a few inches. In reality, that’s the spring, not the opener, and it’s a dangerous repair that requires a professional with the right tools and training.
Gradual wear announces itself for weeks before it becomes a full failure: a drive gear that grinds a little more each cycle, a limit switch that drifts imperceptibly, a carriage that rattles on the rail. The door still works, but it’s slower, noisier, or less consistent. Most Los Angeles homeowners ignore these signs until the opener quits completely.
Gradual problems are preventable, which is why manufacturers recommend annual service. The drive gear that strips in August was showing wear in March. The limit switch that sends your door crashing into the floor was drifting for a month. A preventive service visit costs $85 to $150 in the Los Angeles market, versus $180 to $300 for a repair after failure. More importantly, the repair is done on your schedule, not during the two weeks you’re parking on the street because the door won’t open at all.
The fastest way to tell the difference: ask yourself whether the door’s behavior changed gradually or all at once. If the answer is “gradually,” you’ve been getting warnings. Listen to them.
The Monthly Safety Reverse Test Every Homeowner Should Run
Every garage door opener manufactured since 1993 includes a safety reverse mechanism: if the door encounters resistance while closing, it stops and reverses to the open position. Federal law requires it. What most homeowners don’t know is that this system can fail while the door continues to work normally, which means a closing door can hit a child, pet, or object and keep pushing.
The test takes 30 seconds and should be done monthly:
- Lay a 2×4 or a roll of paper towels flat on the floor directly under the door’s centerline.
- Press the wall button or remote to close the door.
- When the door hits the object, it should stop and reverse within two seconds of contact.
- If the door crushes the object, stops without reversing, or reverses slowly, the opener’s safety reverse is not working correctly.
A failed safety reverse test is a red flag that overrides every other troubleshooting step in this guide. Stop using the door until a qualified technician can inspect the opener and reset the force limits. In Los Angeles, where multi-generational households are common and kids play in driveways year-round, this test matters more than most people realize. If the door fails the test, treat the opener as broken even if it opens and closes perfectly otherwise.
Force settings that drift upward are the usual cause, often after power outages or lightning strikes that scramble the logic board’s memory. In our experience, approximately one in four Los Angeles openers we service has force limits set high enough to fail this test. That’s not a statistic from a study. That’s what our technicians find in the field, week after week.
Common Mistakes to Avoid
- Replacing the opener when the door is the problem. A broken torsion spring, misaligned track, or worn rollers all prevent the door from moving, and no opener will fix that. You’ll spend $500 replacing a healthy opener and still have a broken door.
- Adjusting the limit switches without checking the door balance first. Limits set to compensate for a dragging door mask the real problem and accelerate wear on both the opener and the door hardware.
- Replacing remote batteries and stopping the diagnosis there. A dead remote battery is the easiest fix and the most common wrong conclusion. If new batteries don’t help, you have a receiver or programming issue, not a battery issue.
- Ignoring a slow or noisy door because it still works. Gradual changes are warnings. A door that scrapes, groans, or shakes is telling you something is failing. The repair only gets more expensive after the full failure.
- Lubricating the opener with WD-40. WD-40 is a solvent, not a lubricant. It cleans the chain or screw but leaves it dry. Use a lithium-based grease designed for garage door components, or nothing at all until you know what your manufacturer recommends.
- Running the door with the emergency release pulled. If the opener is running but the trolley is disconnected, the opener should not be operated. Re-engaging the trolley incorrectly after the fact causes carriage damage and stripped gears.
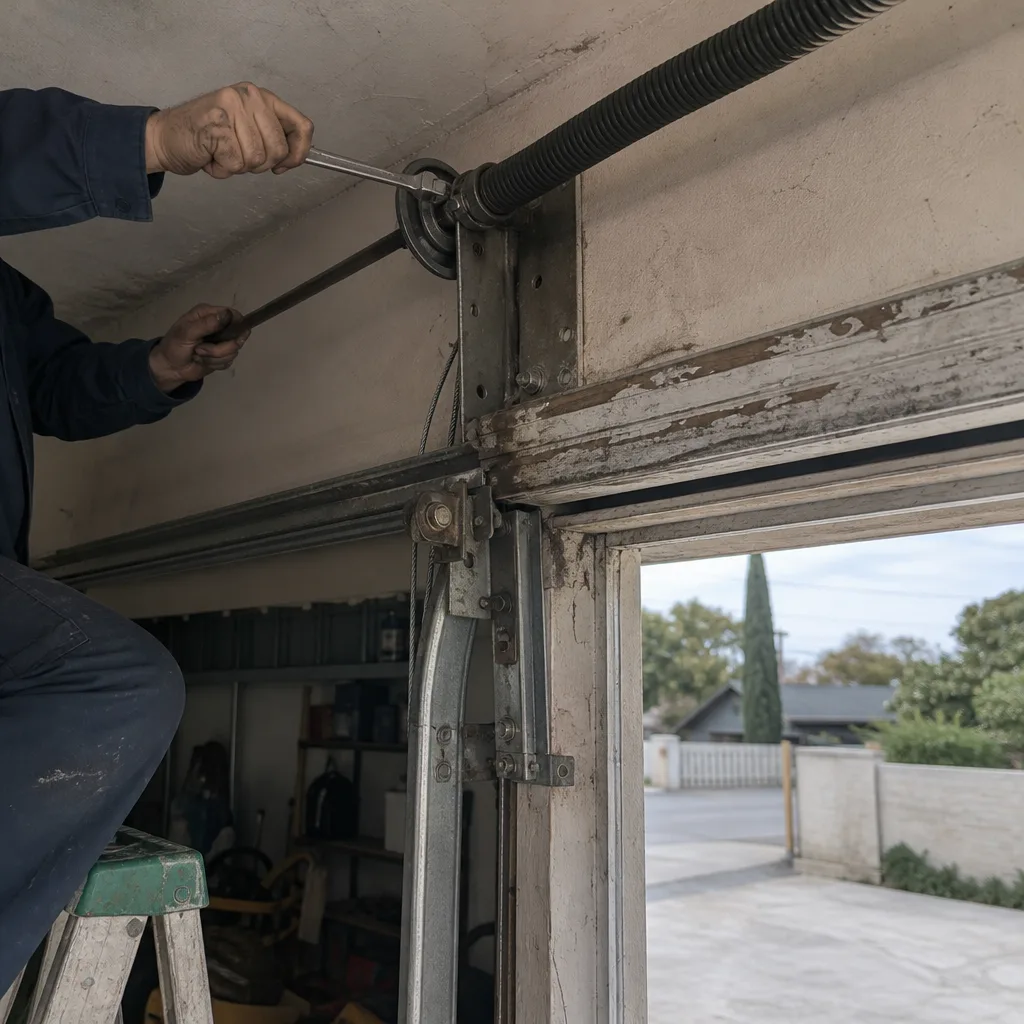
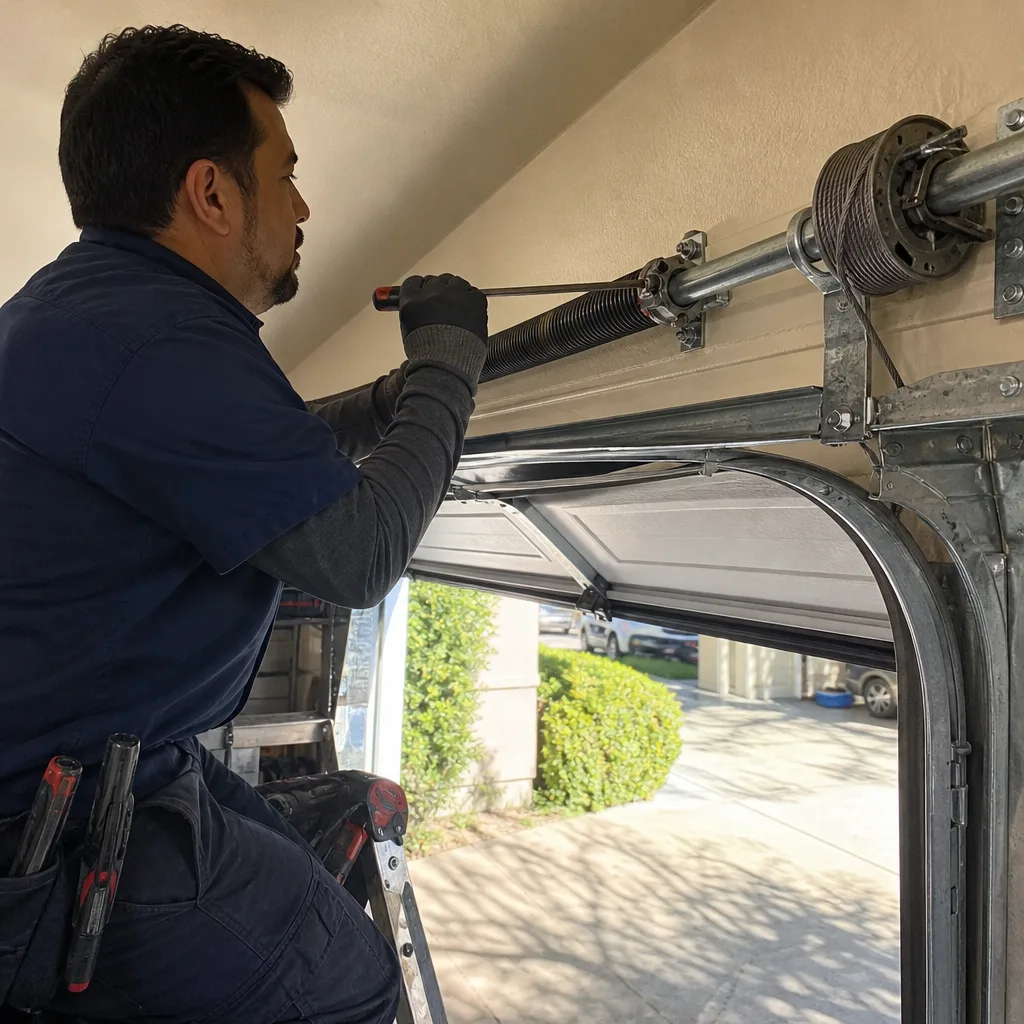
- Attempting DIY torsion spring repair. The torsion spring, the large coil mounted above the door that does most of the lifting, holds enough tension to cause severe injury or death. This is not a repair for a determined homeowner with YouTube. Call a professional.
When to Call a Professional
A broken torsion spring, a logic board with visible scorch marks, a door that crushes a 2×4 during the safety reverse test, or any issue on a door with high-tension components is a professional call. If you’re unsure whether a spring is involved, call before attempting anything. The spring is the most dangerous part on the door, and mistakes with it are not worth the risk.
Garage Door Repair in Grandview from Doyle Garage Door Repair includes a written price before any work begins and a 365-day Done Right Promise on every repair, in writing. If you’re in Los Angeles and need someone to look at your opener, call (910) 858-8029 for a free estimate.
Frequently Asked Questions
Most garage door opener repairs in Los Angeles run between $95 and $250 for parts and labor. A stripped drive gear repair typically costs $170 to $290 total, while a wall button replacement runs $15 to $45 for the part with minimal labor. A new logic board ranges from $80 to $180 for the part plus installation labor of $90 to $140. Every Doyle Garage Door Repair job includes a written price before work begins, so you know the exact cost before a single bolt is turned. Call (910) 858-8029 for a free estimate.
When the motor runs but the door doesn’t move, the drive gear or trolley carriage has failed. The drive gear is a nylon gear inside the opener that strips to protect the motor from burning out, and the trolley carriage is the sliding part that grips the rail and pulls the door. Both are repairable for less than the cost of a new opener in most cases. Call (910) 858-8029 and a technician can diagnose the exact part over the phone in about a minute.
An immediate reversal after the door touches the floor usually means the limit switch, the adjustable stop that tells the opener when “closed” is, has drifted too low. The opener thinks it hit an obstruction and reverses for safety. The fix is a limit adjustment plus verification that the door closes properly under the correct force settings. This is a straightforward repair but model-specific, and doing it wrong can damage both the door and the opener.
Some fixes are safe DIY projects: replacing the wall button, swapping remote batteries, cleaning photo-eye lenses, and resetting a tripped breaker or GFCI outlet. Repairs involving the torsion spring, drive gear inside the opener housing, logic board, or any work requiring the release of stored mechanical tension should be left to a trained professional. The spring alone stores enough energy to cause serious injury if handled incorrectly.
A quality garage door opener in Los Angeles typically lasts 12 to 15 years, though nylon drive gears often fail at the 8 to 10 year mark, especially in inland neighborhoods where summer garage heat accelerates plastic degradation. Coastal homes in areas like Playa del Rey and San Pedro may see corrosion-related electrical issues earlier due to salt air. Regular maintenance and immediate attention to gradual changes extend the lifespan meaningfully.
Doyle Garage Door Repair technicians carry the most common replacement parts for LiftMaster, Chamberlain, Genie, Craftsman, and Raynor openers, including drive gears, trolley carriages, wall buttons, and photo-eye sensors. If your repair falls within that range, it can often be completed same-day. Every repair is quoted in writing before work starts, and every repair carries a 365-day written guarantee. Call (910) 858-8029 to check availability.
The Bottom Line
Most garage door opener problems trace to seven components, and the symptom tells you which one has failed. A humming motor points to the drive gear or trolley. A door that reverses points to the limit switch. A door that won’t close points to the photo eyes. Knowing the symptom-to-component map turns a vague “it stopped working” into a precise diagnosis, which means a faster repair, a fairer price, and a conversation with your technician where you understand what’s being done to your home. Run the monthly safety reverse test, listen to gradual warnings, and when the problem exceeds your tools or your confidence, call a professional who puts the price in writing before touching anything. For more guides & resources, visit our blog.
Written by Aaron Teague, Owner at Doyle Garage Door Repair, serving Los Angeles since 2001.