
Last updated October 9, 2026
Full 25-point door and opener safety check with every visit - springs, cables, rollers, tracks, and your LiftMaster or Chamberlain opener included
You get a price before we start. It does not change when the truck arrives.
 Before
 After
After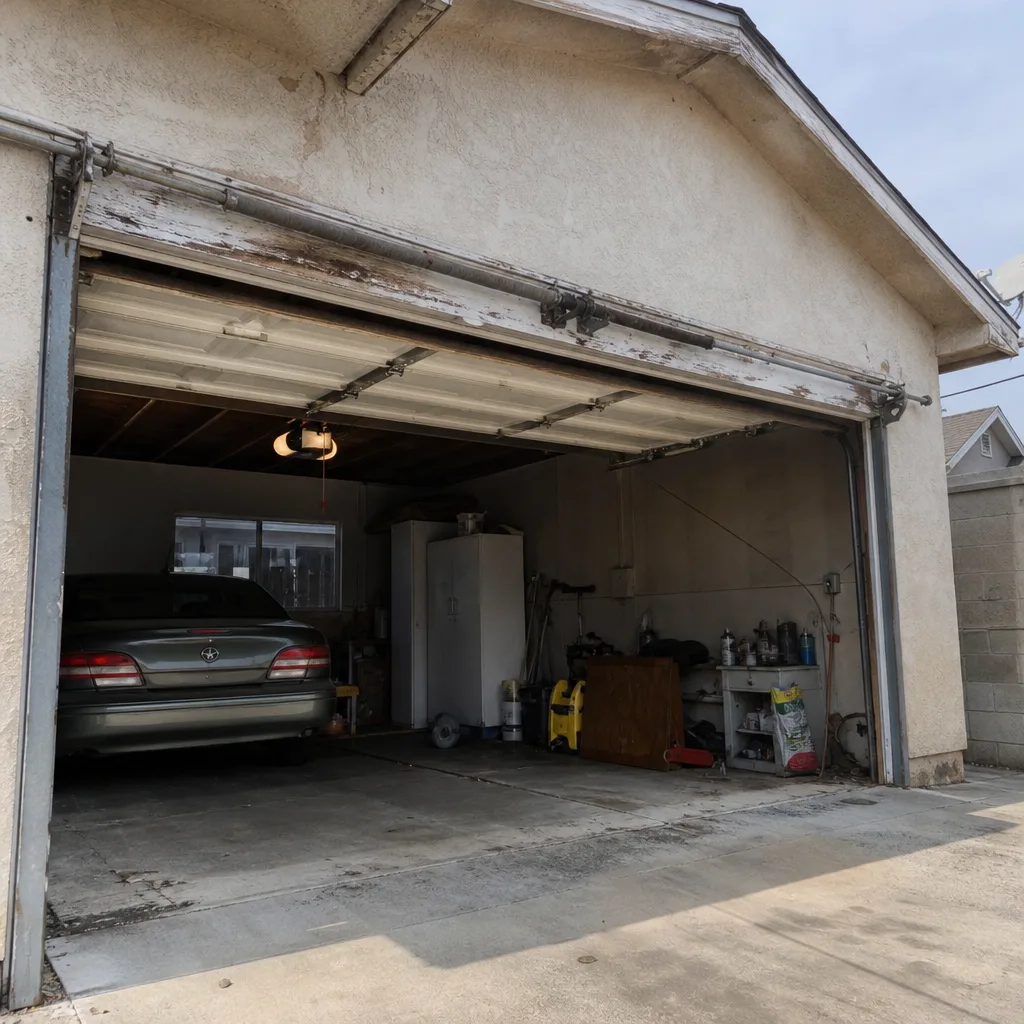 Before
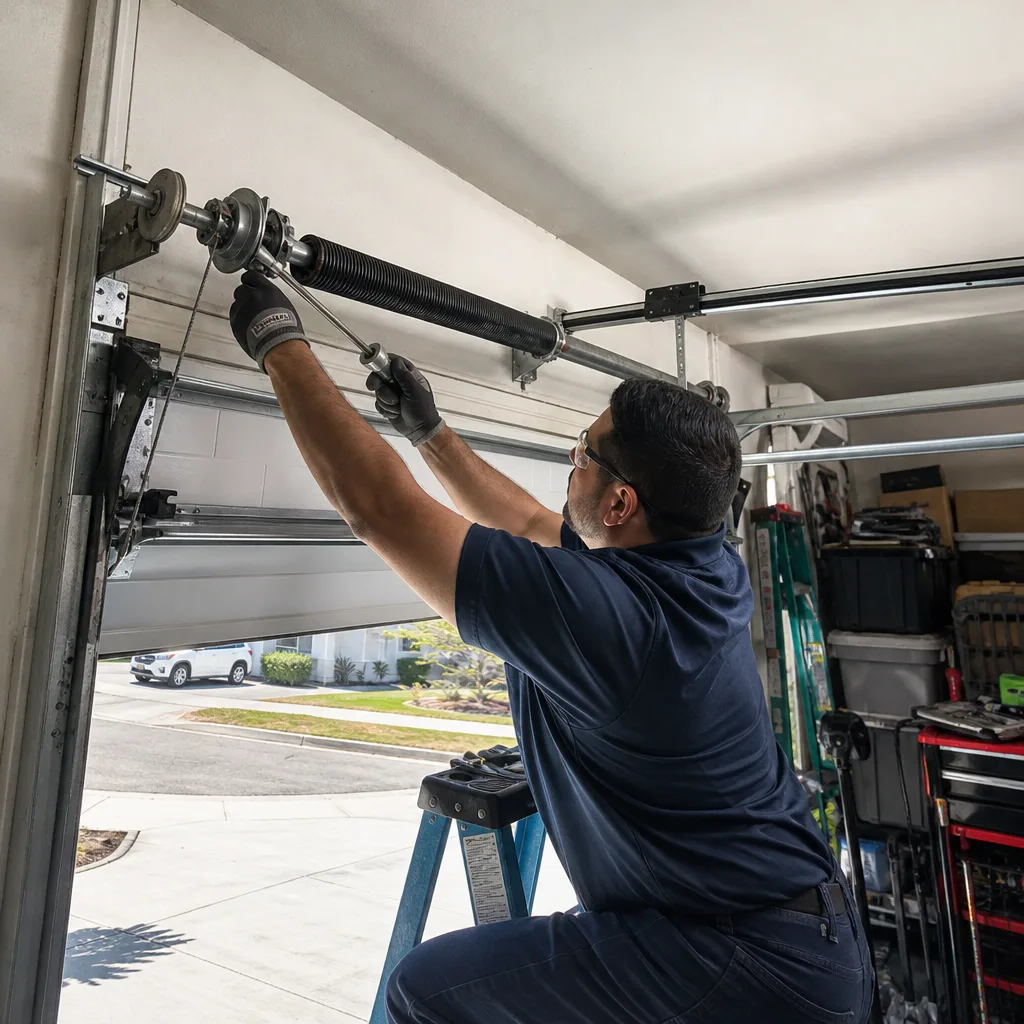 After
After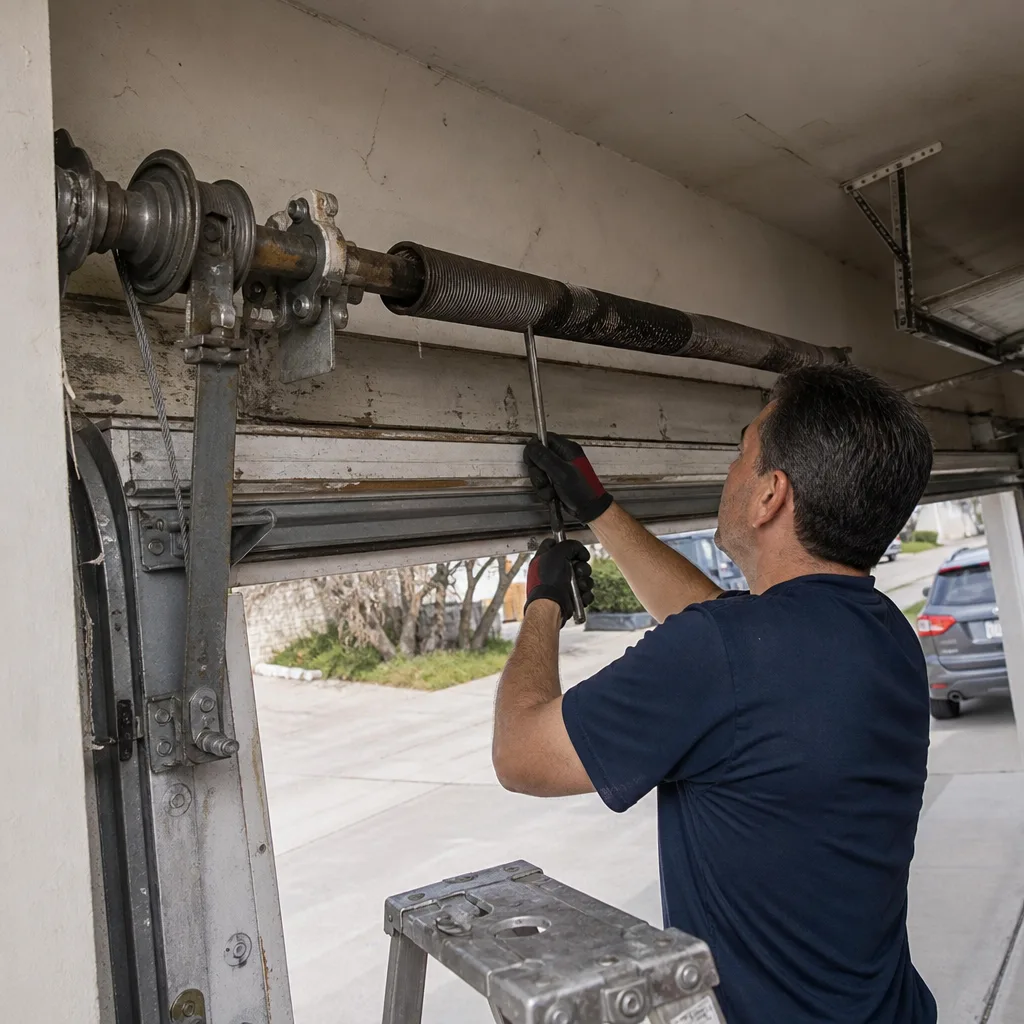 Before
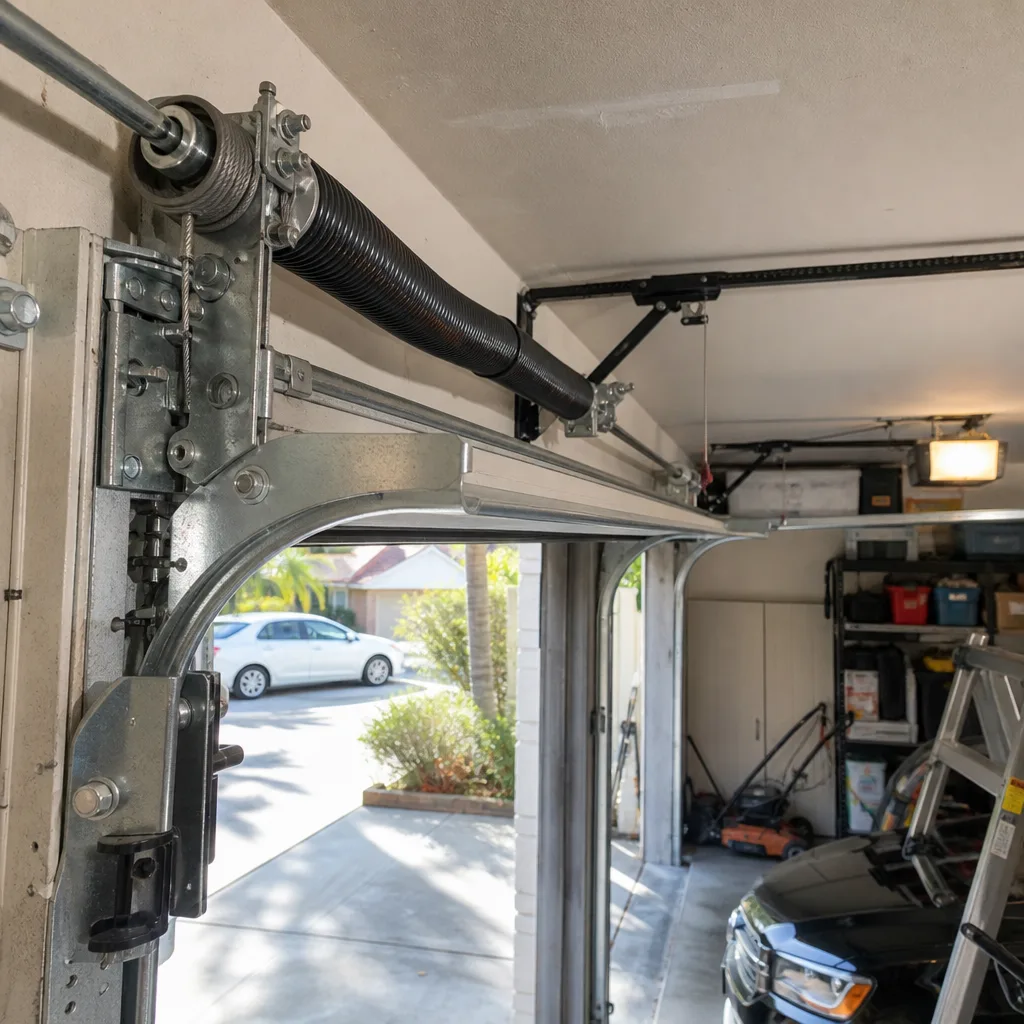 After
AfterDIY vs Professional Garage Door Opener Repair: What’s Safe to Do Yourself
Replacing a dead wall button is a $12 DIY fix that takes eight minutes. Adjusting a torsion spring is a task that sends roughly 20,000 people to emergency rooms each year. The line between those two jobs is the only thing that actually matters. This guide walks you through exactly which garage door opener repairs you can safely handle yourself, which ones require our Garage Door Opener Repair services, and why the distinction has nothing to do with how handy you are. If you live in Los Angeles, where detached garages mean openers run hundreds of cycles a month and coastal humidity accelerates sensor corrosion, knowing this line saves you real money and keeps you out of the emergency room.
Quick Answer
You can safely DIY the low-risk, outer-layer tasks: replacing remote batteries, cleaning and aligning photo-eye sensors, lubricating the chain or belt, swapping a wall button, and adjusting limit travel on belt-drive openers. Anything involving torsion spring tension, the drive gear assembly, the logic board, or the internal trolley carriage requires a trained technician because the stored mechanical energy is high enough to cause serious injury and because opening the motor housing voids most manufacturer warranties.
Table of Contents
- Safe DIY Tasks: What You Can Handle Without Risk
- Technician-Required Repairs: What You Should Not Touch
- Why Torsion Springs Are Genuinely Dangerous
- The 60-Second Photo-Eye Alignment Fix
- Warranty Voiding: What Your Manual Doesn’t Advertise
- What a Written Quote Protects You From
- Los Angeles-Specific Opener Issues
- Common Mistakes to Avoid
- When to Call a Professional
- Frequently Asked Questions
- The Bottom Line
Safe DIY Tasks: What You Can Handle Without Risk
Garage door openers are not a single machine. They’re a system with layers. The outermost layer, the parts you touch without opening the motor housing, is designed to be user-serviceable. Manufacturers like Genie and Chamberlain build these components to be replaced by homeowners, and the risk involved is equivalent to changing a light switch cover.
Here’s what you can safely do yourself:
- Replacing remote and keypad batteries: Usually 3V lithium coin cells or 9V batteries. Takes less than four minutes. No tools required beyond a small flathead screwdriver.
- Cleaning the photo-eye sensors: The two small lenses mounted near the floor on each side of the door opening collect dust, spider webs, and in Los Angeles, airborne particles from dry desert winds. Wipe with a dry microfiber cloth.
- Lubricating the chain or belt: Use white lithium grease spray on the chain. This is a maintenance task best done every 6 months in Los Angeles because hot, dry air accelerates grease breakdown.
- Replacing a wall-mounted control button: A $12 part, two screws, and two low-voltage wires. This is a 10-minute job that requires no electrical skill.
- Adjusting limit travel on belt-drive openers: Limit switches tell the opener how far to move the door up and down. Belt-drive models from Wayne Dalton openers come with simple screw-dial adjustments on the motor housing exterior that do not require opening the unit.
Note what is not on this list: anything that requires you to remove the plastic cover from the motor head. That cover is the boundary line. Outside it, homeowner territory. Inside it, technician territory.
If you’re unsure whether your specific opener’s limit adjustment dials are accessible without opening the housing, check the manual. Most manuals include a diagram showing which parts are user-adjustable. If you no longer have the manual, a quick search of the model number usually brings up a PDF from the manufacturer.
Technician-Required Repairs: What You Should Not Touch
We’ve kept the list of DIY tasks short on purpose, though you can always explore DIY vs Professional Garage Door Repair: What’s Safe to Do Yourself for a deeper comparison. The industry’s habit of saying “always call a pro” for everything makes homeowners skeptical, and rightly so. But there is a second list where the caution is earned, and you deserve to know exactly what’s on it.
These four repairs require a trained technician:
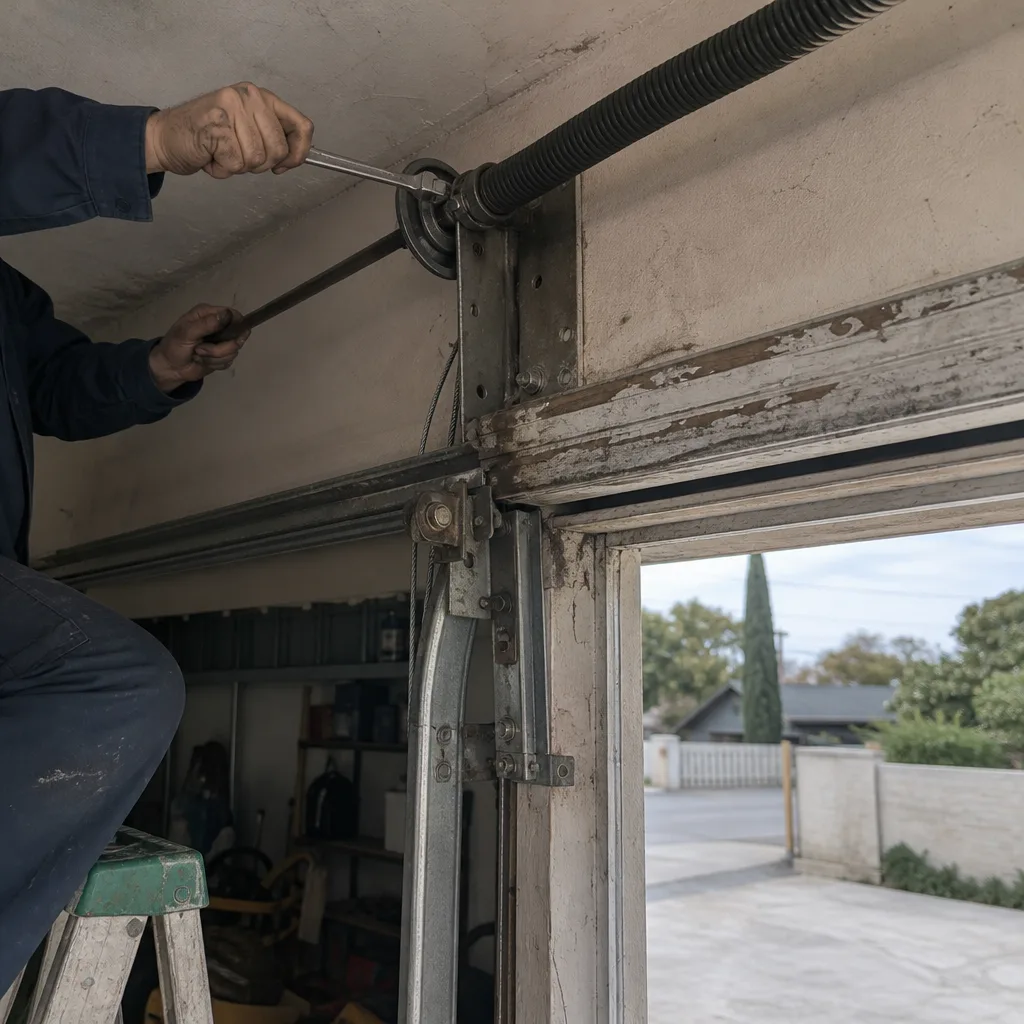
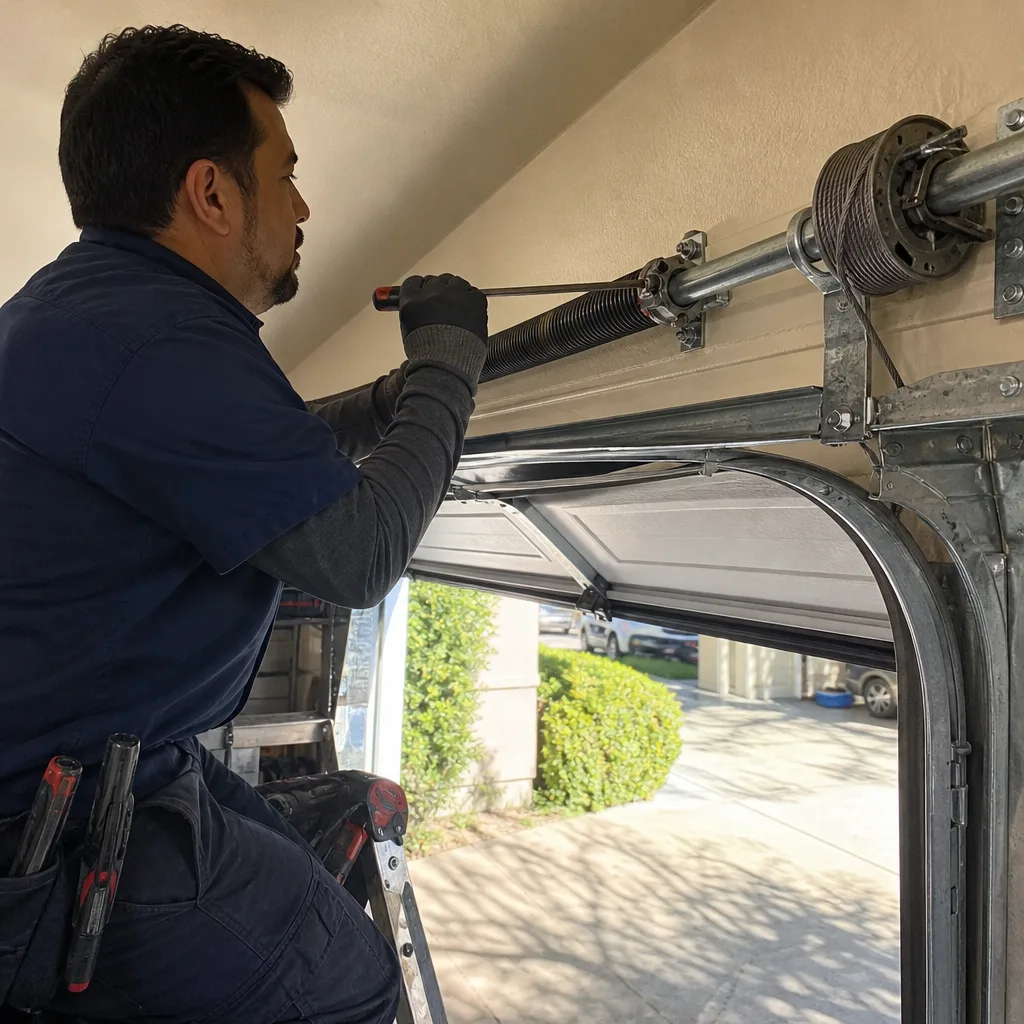
- Any repair involving torsion spring tension: Torsion springs, the large coils mounted above the door, store hundreds of foot-pounds of torque even when the door is closed. This is not a beginner’s repair and the consequences of a slip are severe. More on this below.
- Replacing the drive gear assembly: Inside the motor housing, the drive gear is a plastic component that translates motor rotation into chain or belt movement. Replacing it requires opening the unit, disassembling the sprocket assembly, and correctly torqueing the shaft nut. If the gear fails again due to improper torque, the opener can destroy itself.
- Logic board diagnosis: The logic board is the circuit board that processes remote signals, safety sensor input, and motor commands. Diagnosing a board failure requires multimeter testing and sometimes oscilloscope-level interpretation. Replacing a board in response to a remote not working, when the real issue is interference or a dying wall button, is a common $200 mistake.
- Trolley carriage replacement: The trolley carriage is the component that rides along the rail and physically connects the opener to the door. It bears the full load of the door during every cycle. If installed incorrectly, the carriage can detach mid-cycle and allow the door to freefall.
In our experience in the Los Angeles market, where homes built between 1940 and 1980 often have original or aging opener systems, the drive gear and logic board failures are the most common issues we diagnose after a well-meaning DIY attempt goes sideways. The repair usually costs more after a partial DIY because we have to undo whatever was done before diagnosing the original problem.
Why Torsion Springs Are Genuinely Dangerous
The garage door industry does not exaggerate when it talks about torsion springs. The numbers are scary for good reason. A standard residential torsion spring rated for a 16-foot-by-7-foot steel door stores between 150 and 250 foot-pounds of torque. That’s enough rotational force to propel a 7-pound winding bar at speeds that cause deep lacerations, compound fractures, and worse.
Here’s what actually happens when a spring repair goes wrong:
Technicians use two half-inch steel winding bars inserted into holes on the spring cone. They wind the spring under tension, adding one quarter-turn at a time. If a bar slips from the cone, the stored energy releases instantaneously. The bar becomes a projectile moving at over 100 feet per second. The technician’s hand, wrist, face, or chest is in the path.
That’s not dramatic language. That’s physics. And it’s why you will not find responsible guidance telling you to attempt this repair.
There is also the secondary problem: even if you successfully replace the spring, getting the twist count wrong means the door doesn’t balance. A door with too few twists won’t open fully. Too many twists and the door opens on its own, which damages the opener and creates a fall hazard if the spring breaks later.
The point here is not fear. It’s respect. You can respect a chainsaw and use it safely. You can respect an electrical panel and flip a breaker. But torsion springs require training to respect, because the mistake doesn’t give you a warning. It gives you an ER visit.
In Los Angeles, where families often have bedrooms adjacent to or above the garage, a failed spring also creates a structural risk: when a spring breaks, the door loses its counterbalance. A spring that releases while someone is under the door can cause serious crush injuries. We have replaced springs in neighborhoods from Sherman Oaks to Pasadena where homeowners told us the spring snapped in the middle of the night and sounded like a gunshot. If you hear that sound, do not operate the door until a technician has inspected it.
The 60-Second Photo-Eye Alignment Fix
The photo-eye sensors are the most common source of unnecessary service calls in Los Angeles. They’re the two small plastic units, each about the size of a matchbox, mounted on the door tracks near the floor. They shoot an invisible infrared beam between them. If the beam is broken or the sensors are misaligned, the door will not close. The opener assumes something is in the way.
Here’s the repair that costs nothing and takes about a minute:
- Check the LED lights on both sensors. One sensor should have a solid light (the transmitter). The other should have a solid light (the receiver) when the beam is aligned. If the receiver light is blinking, flickering, or off, the sensors are misaligned or blocked.
- Wipe each lens with a dry cloth. Don’t use window cleaner or any solvent. Those leave a film that diffuses the infrared beam. A dry microfiber cloth is all you need.
- Bend the sensor bracket slightly. The brackets are thin stamped steel. A gentle push inward or outward, no more than an eighth of an inch, usually re-aligns the beam. The receiver light will stop blinking and go solid when you’re lined up.
- Test the door. Press the wall button. If the door closes, you’re done. If the door still reverses after hitting the floor, clean the bottom edge of the door and the floor itself because debris can break the beam as the door descends.
This fix succeeds about 70% of the time when a Los Angeles homeowner calls us for a door that won’t close and we diagnose the problem as photo-eye related. In the other 30% of cases, the sensor itself has failed, which is a straightforward replacement that runs $75 to $125 in our market including the part and labor.
For more on our opener repair services in the Grandview area, see our Garage Door Opener Repair in Grandview page.
Warranty Voiding: What Your Manual Doesn’t Advertise
Most opener manufacturers include a clause in the warranty that voids coverage if the opener has been serviced by someone who isn’t certified for that brand. This isn’t buried in fine print. It’s usually stated plainly in the warranty section of the manual, but most homeowners never read the manual until something breaks.
Here’s what the warranty clauses typically look like in practice:
LiftMaster and Chamberlain warranties state that the warranty does not cover damage caused by “unauthorized repair or modification.” Genie’s warranty language is similar, excluding “repairs made by anyone other than a Genie authorized service technician.” If you open the motor housing, replace a drive gear, and the gear fails again three weeks later, the manufacturer will not cover the replacement. You own that second repair.
This matters for two reasons. First, it protects you from paying twice for the same failure. Second, it protects the manufacturer from covering damage caused by improper torque settings or misaligned components.
How to check your warranty before doing anything:
- Find your opener’s model number. It’s printed on a sticker on the side of the motor housing.
- Locate the warranty section in your manual. If you don’t have the manual, search the model number plus “warranty PDF.”
- Look for the specific exclusion language. The key phrase to look for is “unauthorized repair,” “unauthorized modification,” or “service by a certified technician.”
- Contact the manufacturer’s customer service if the language is unclear. Ask directly: “Will servicing this part myself void my warranty?” Get the answer in writing.
Most manufacturers will tell you that external components like remotes, keypads, and safety sensors are user-replaceable without voiding the warranty. Internal components are a different story. If you’re considering opening the motor housing, check the warranty language first. The cost of a half-hour of reading can be the difference between a covered replacement and a $300 bill.
What a Written Quote Protects You From
The garage door repair industry in Los Angeles has a persistent problem: the “I opened it up and found more problems” upsell. Here’s how it works. A technician gives you a verbal estimate of $89 to diagnose the problem. They open the motor housing. They then tell you the drive gear is worn, the limit switch is failing, and the circuit board shows signs of surge damage. The new total is $450. You agree because you need the door to work. You never see an itemized breakdown. You only see the final number on the invoice.
A written quote handed to you before any work starts changes the economics of that conversation. It forces the technician to itemize the diagnosis and the repair cost. It gives you a document you can compare against the final invoice. It creates accountability.
At Doyle Garage Door Repair home, the written quote is non-negotiable. Every job, including a dead opener in a Los Angeles garage at 10pm, starts with a written price. If the technician finds something during the repair that changes the work, you get a new written quote before any additional work happens. You are never committed to a number that was not agreed upon in writing first.
This is also the moment when you should expect the technician to prove who they are. A uniform is not identification. A truck with a logo is not identification. A photo ID badge, shown at the door before the technician enters your home, is identification. If you’re home alone, or your kids are home, or you’re older and answering the door to a stranger, this detail is not a luxury. It’s the baseline.
We’re part of the Threshold Group family of home service companies. Our technicians are background-checked and identity-verified under the Threshold Standard. You get the technician’s name and photo sent to you before the visit. When the doorbell rings, you already know who you’re opening the door for.
Los Angeles-Specific Opener Issues
Los Angeles is tough on garage door openers in ways that most guides don’t address. The combination of extreme summer heat, dry Santa Ana winds, and coastal salt air creates a specific set of stressors that depend on where in the city you live.
In the San Fernando Valley, including neighborhoods like Northridge and Van Nuys, summer garage temperatures regularly exceed 120 degrees. That heat degrades the plastic drive gears inside openers faster than any other factor we see. A drive gear that might last 12 years in a temperate climate can fail in 7 or 8 years in Valley heat. The gear teeth strip, and the motor starts to grind while the door doesn’t move.
Along the coast, in neighborhoods like Palos Verdes or Long Beach, salt air corrodes sensor wiring and connection points. The low-voltage wires running from the wall button to the motor housing develop green corrosion where the insulation has cracked. This shows up as intermittent operation: the door works fine for a week, then fails three times in one afternoon.
In older Los Angeles neighborhoods like Los Feliz or Echo Park, where homes date from the 1920s through the 1950s, garage door openers are often retrofitted onto original wood doors. These doors are heavier than modern steel doors, which puts extra strain on the opener’s motor and trolley carriage. A belt-drive opener rated for a 350-pound door will struggle with a 400-pound original wood door, and the result is premature wear on the carriage.
Before you invest in any repair, ask whether your opener is actually the right capacity for your door. Openers are rated in horsepower, and most residential models come in 1/2 HP, 3/4 HP, and 1 HP options. A heavier door needs more horsepower. If your Los Angeles home has an original wood door, check the opener’s HP rating against the door’s weight before replacing any parts.
Common Mistakes to Avoid
- Lubricating the photo-eye lenses to “clean” them. Lubricant or solvent on the sensor lens creates a permanent film that diffuses the infrared beam. Dry cloth only. This mistake turns a 60-second fix into a $90 sensor replacement.
- Adjusting the torsion spring tension to fix a door that won’t open. If the spring is not broken, the problem is usually the opener, not the spring. Adding tension to a healthy spring creates a dangerous overload condition and can cause the spring to fail catastrophically.
- Replacing the opener remote before checking the wall button. If the wall button works but the remote doesn’t, the problem is the remote, the receiver, or interference. If neither works, the problem is likely the opener itself. Replacing batteries and remotes before checking the wall button wastes time and money.
- Opening the motor housing to “take a look.” The moment you remove the cover, you void most manufacturer warranties. If you’re not certain the problem is internal, don’t open it. Call someone who can diagnose it without voiding your coverage.
- Using WD-40 on the chain or belt. WD-40 is a solvent, not a lubricant. It removes the existing grease and leaves the chain dry. Use white lithium grease spray designed for garage door chains, available at any hardware store in Los Angeles for under $10.
- Continuing to operate a door that makes a grinding noise. Grinding means the drive gear is stripping or the trolley carriage is binding. Every cycle you run makes the damage worse. Stop using the door, pull the manual release cord, and open the door by hand until you get a professional diagnosis.
When to Call a Professional
Call a professional if you’re facing any of these situations: you hear a grinding noise when the door moves and it’s getting worse, the door opens but won’t stay open without holding the button, the opener motor runs but the door doesn’t move, you’ve replaced the remote batteries and the wall button still fails, or you see a broken torsion spring above the door. Also call if you’ve opened the motor housing and can’t identify the problem: the longer a partially-diagnosed opener sits, the more damage it accumulates. Doyle Garage Door Repair offers free estimates in Los Angeles. Call (910) 858-8029 and a live person answers, day, night, weekend, or holiday. Every repair includes a written price before work begins and a written 365-day guarantee after the work is done. For a broader look at our garage door repair work in the Grandview area, see Garage Door Repair in Grandview.
Frequently Asked Questions
You can replace the external components like remotes, keypads, wall buttons, and sensors yourself. Replacing the entire opener unit requires disconnecting the door from the trolley, removing the old motor head and rail, mounting the new unit to the ceiling, programming the limit settings, and reconnecting the door. It’s a two-person job that usually takes 3 to 4 hours for someone with no experience. A professional installation in Los Angeles typically runs $300 to $500 including the labor when the opener is purchased through the installer. If you’re considering a full replacement, see Garage Door Installation in Grandview for what the process involves.
In Los Angeles, garage door opener repair typically costs between $95 and $350 depending on the component. A photo-eye sensor replacement runs $75 to $125. A drive gear replacement runs $180 to $250. A logic board replacement runs $250 to $350. A wall button replacement is $45 to $75. These are the prices we quote in our market, and they include the written estimate before work begins.
Yes. Doyle Garage Door Repair offers same-day service in Los Angeles for most opener repairs. Call (910) 858-8029 and a live person answers. We’ll give you a specific arrival window and send the technician’s name and photo before they leave our dispatch.
The price you’re quoted is the price you pay unless the technician finds a different problem than what was described on the phone. If that happens, you get a new written quote before any additional work begins. You’re never committed to a number that wasn’t agreed upon in writing first.
Yes. Our Los Angeles technicians carry the most common opener replacement parts on the truck: photo-eye sensors, wall buttons, remotes, drive gears, limit switches, and trolley carriages. This means most repairs are completed on the first visit. For less common parts, we schedule a return visit within 24 to 48 hours.
Yes. Our technicians are factory-trained to service all major brands including Wayne Dalton, Amarr, Clopay, Genie, LiftMaster, and Chamberlain. The brand of your opener doesn’t affect the written quote or the 365-day guarantee.
The Bottom Line
Garage door opener repair is not one thing. It’s a layer of tasks, and the line between safe and dangerous is specific and knowable. You can replace batteries, clean sensors, lube a chain, and swap a wall button without risk. You should not open the motor housing, touch the torsion springs, or attempt internal repairs without training and certification. The warranty consideration alone is enough to stop most DIY attempts in the housing. And when you do call a professional in Los Angeles, you should expect a written price before the work starts, a name and photo of the technician before they arrive, and a written guarantee on the repair. Those three expectations are not extras. They’re the minimum standard.
Written by Aaron Teague, Owner at Doyle Garage Door Repair, serving Los Angeles since 2001.