
Last updated October 9, 2026
Full 25-point door and opener safety check with every visit - springs, cables, rollers, tracks, and your LiftMaster or Chamberlain opener included
You get a price before we start. It does not change when the truck arrives.
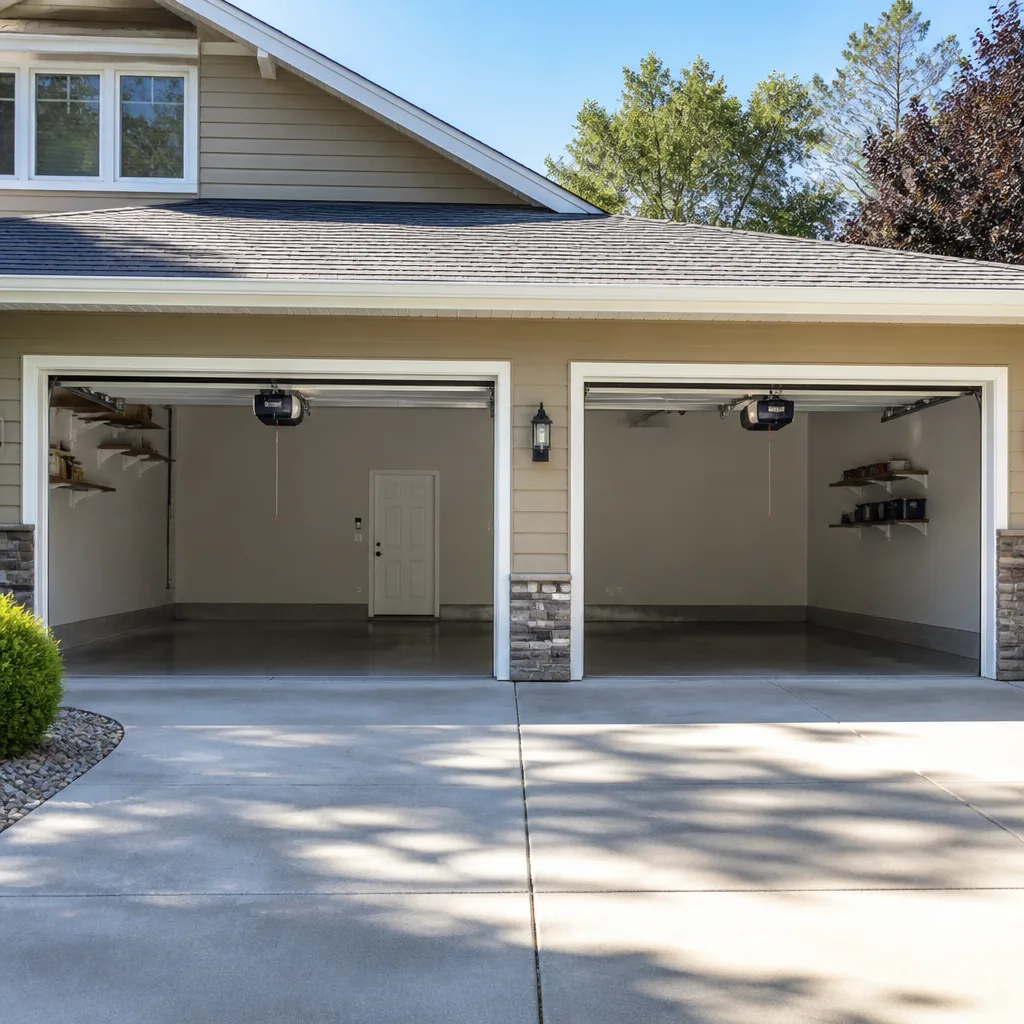
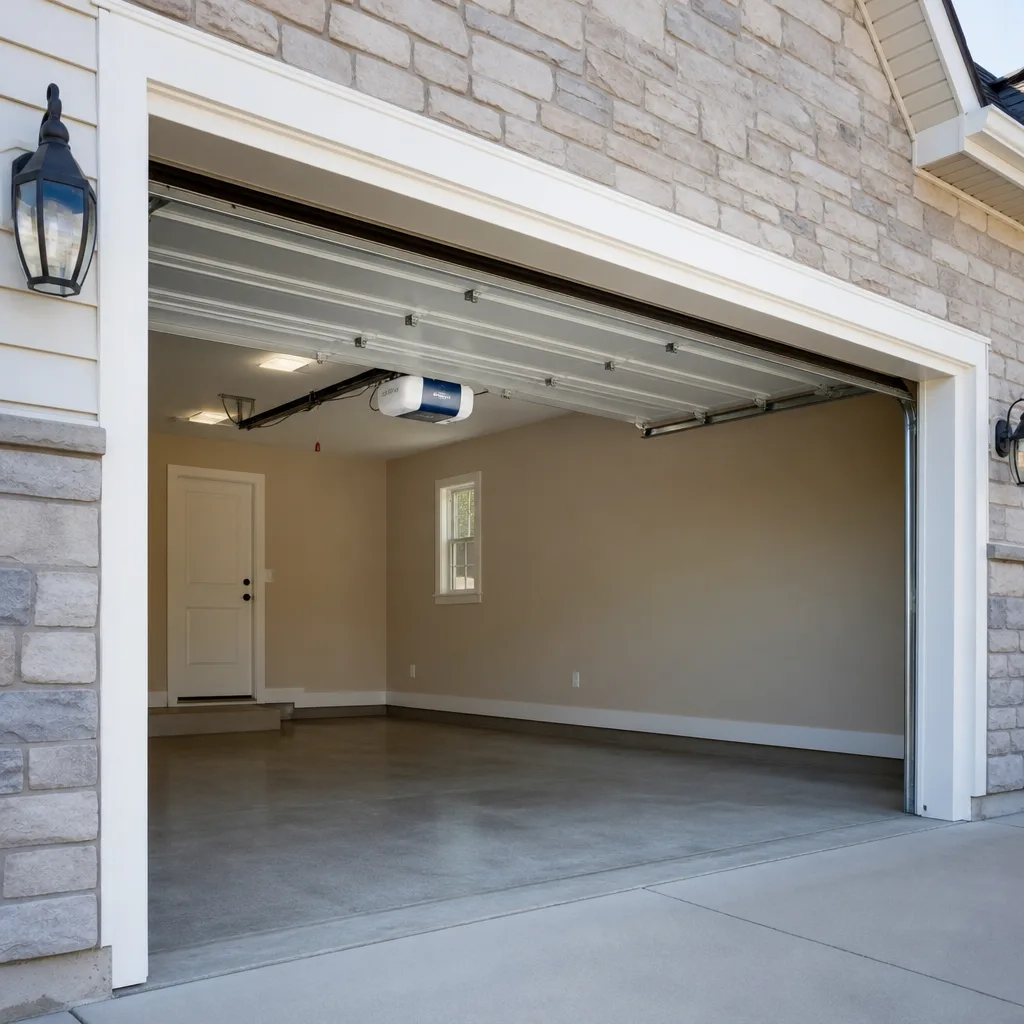
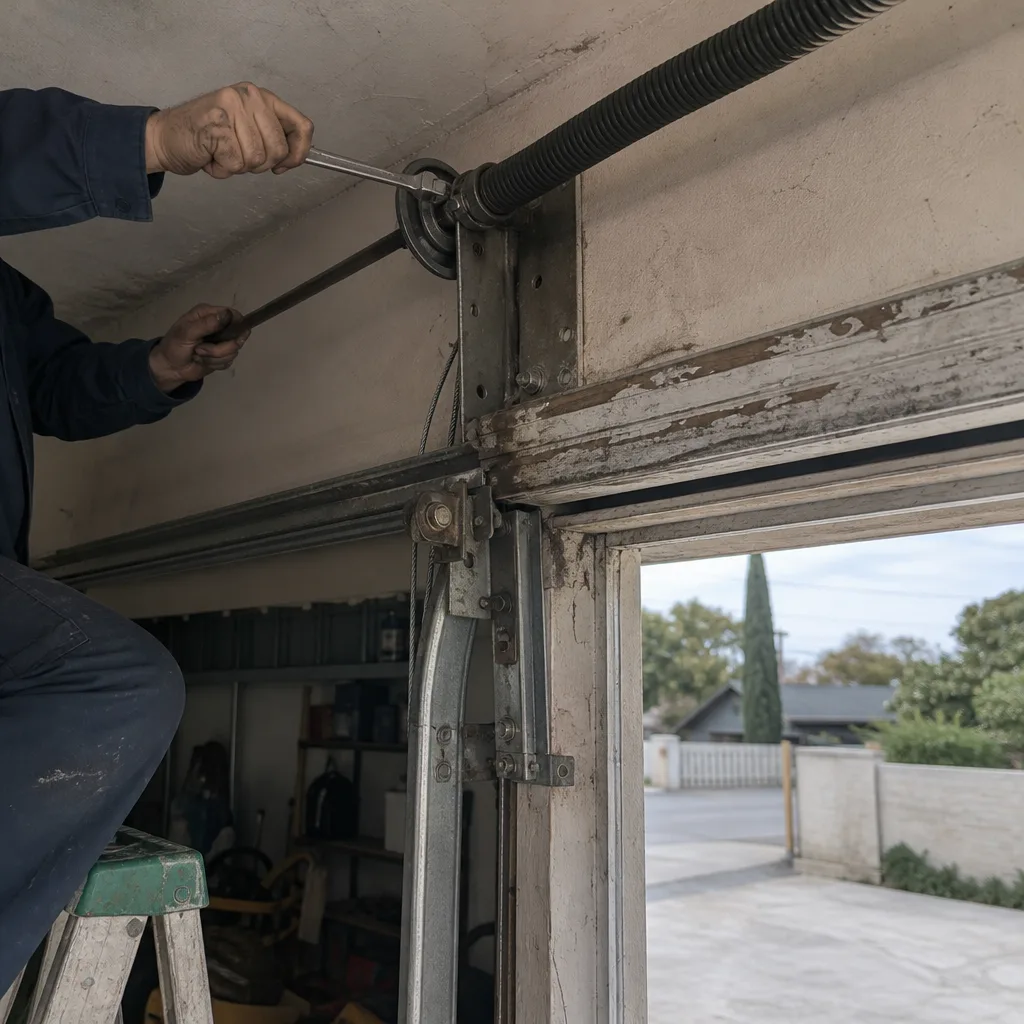 Before
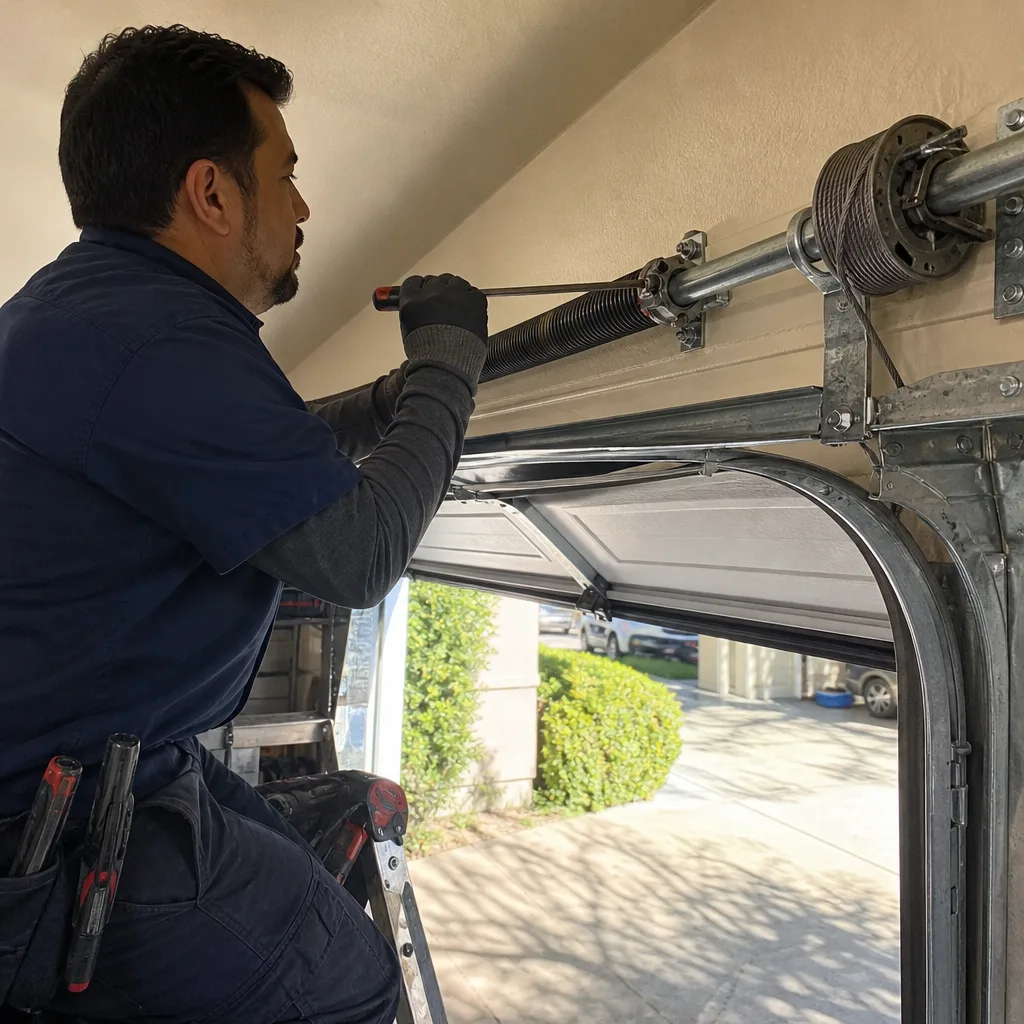 After
After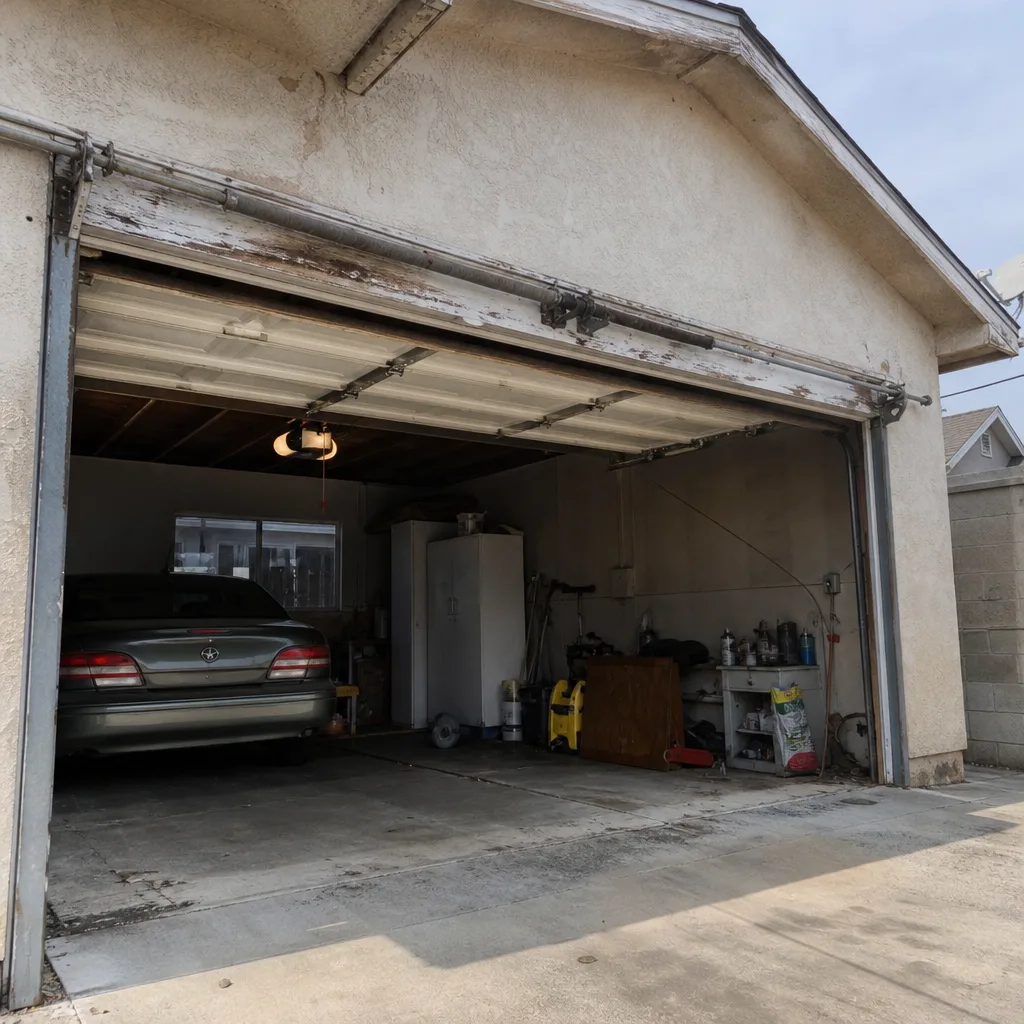 Before
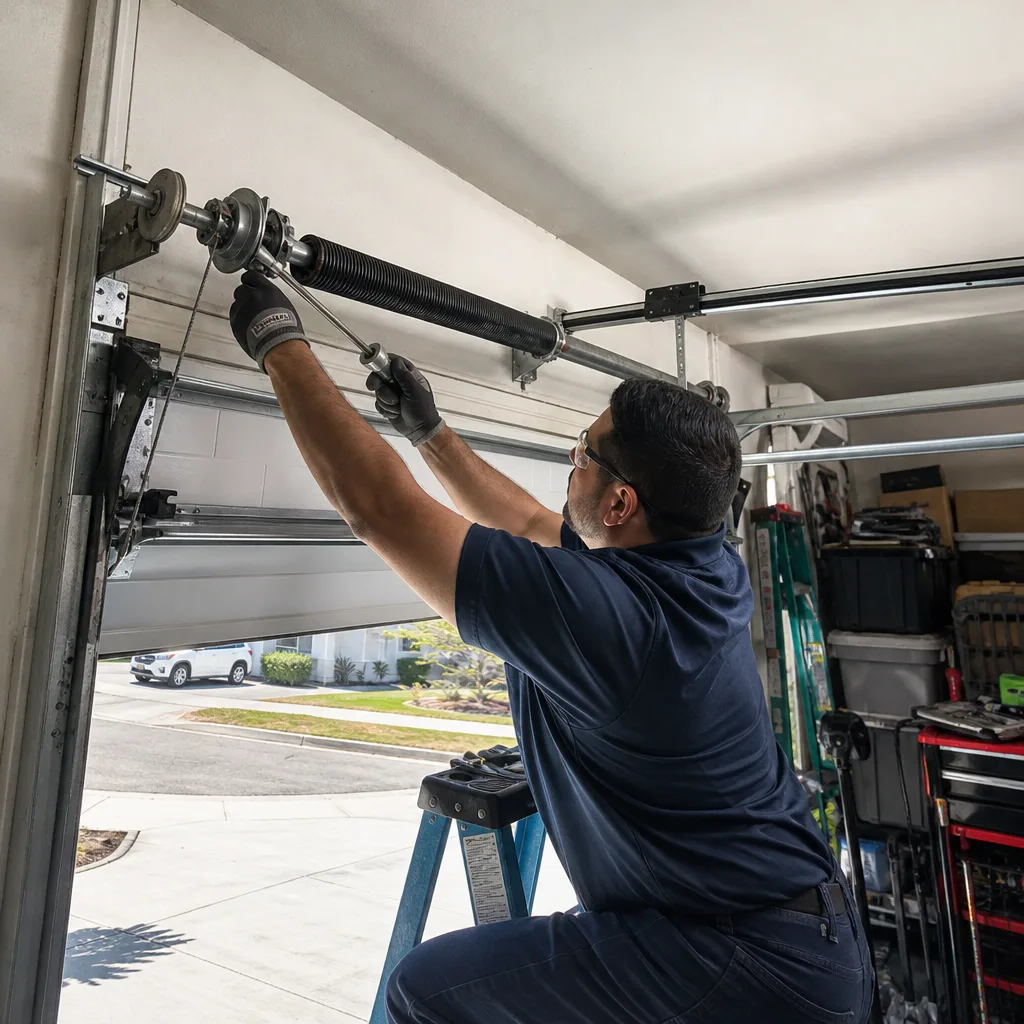 After
After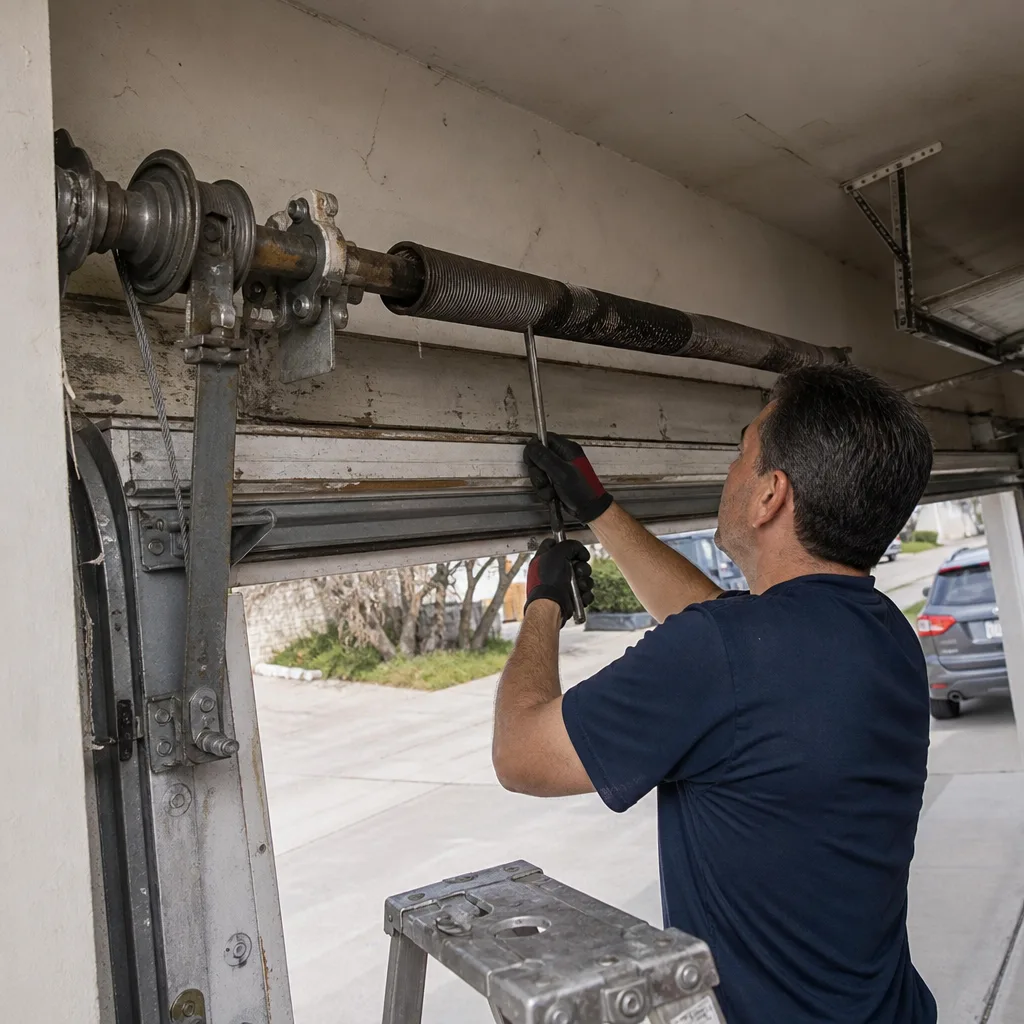 Before
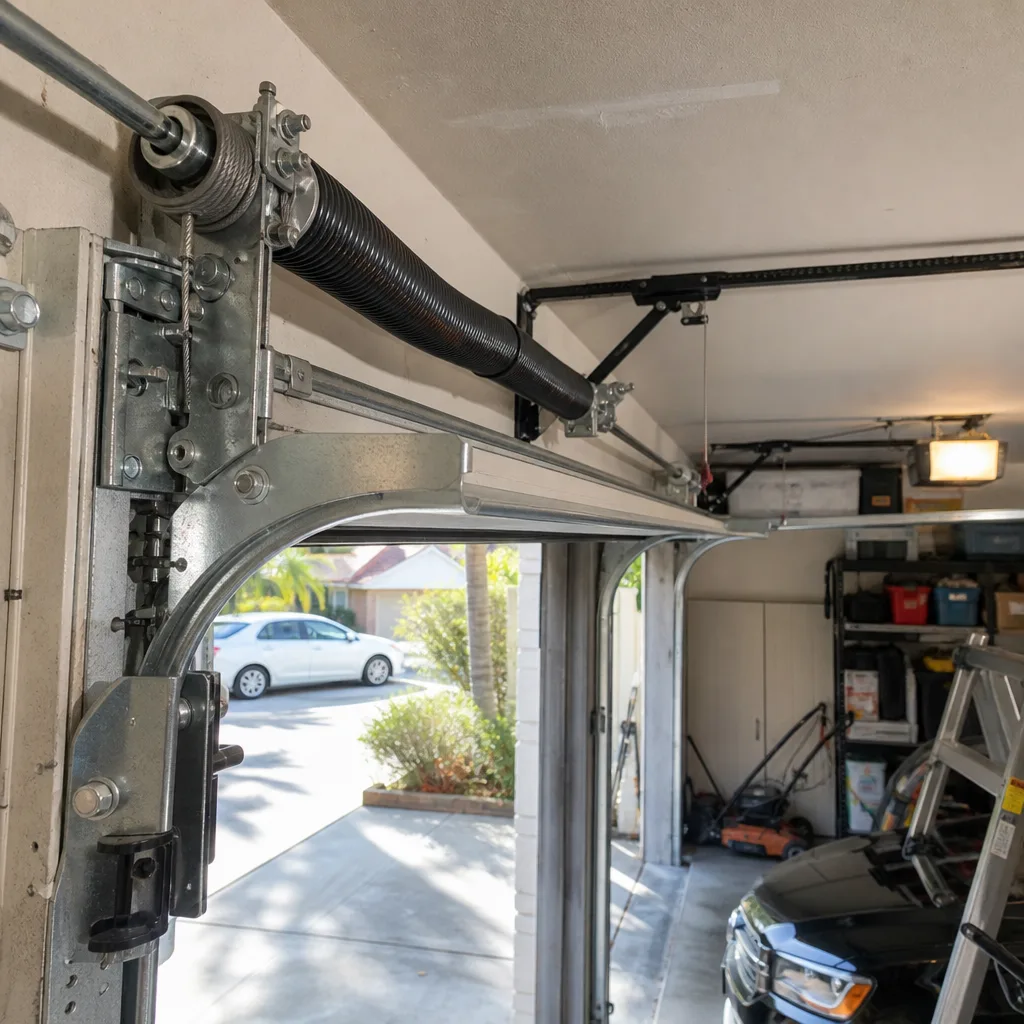 After
AfterGarage Door Opener Repair Maintenance Schedule: What to Do and When
The drive gear in a typical garage door opener handles roughly 1,500 open-and-close cycles every year. By the time most Los Angeles homeowners notice it’s worn, that gear has already lost 40% of its tooth depth, and the repair bill is no longer a $40 part but a full opener replacement. What’s worse is that this damage is visible months before it fails if you know when and where to look. This guide gives you a quarterly maintenance schedule, organized by season and tied to the specific ways Los Angeles heat, dust, and Santa Ana winds stress each component; for more guides & resources, see our blog. You’ll learn which lubricants belong where, why “one yearly tune-up” is a slower death for your opener, and where to look before you’re stranded in a driveway at 6 a.m.
Quick Answer
A garage door opener doesn’t need one annual service. It needs four short maintenance checks per year, each 10 to 20 minutes, targeting different components based on the season. Q1 is post-winter lubrication and a safety reverse test. Q2 is photo-eye and circuit board cleaning before summer heat peaks. Q3 is checking the trolley carriage for binding during peak temperatures. Q4 is wiring, wall button continuity, and backup battery testing before the rainy season. Sticking to this quarterly cadence typically extends an opener’s life from 7 years to the 10 to 15 years it was designed for.
Table of Contents
- Why Four Maintenance Windows Beat One Yearly Tune-Up
- The Quarterly Maintenance Schedule, Season by Season
- Which Lubricants Go Where, and Which Ones Damage Your Opener
- Battery Backup Maintenance: Testing Before the Outage
- How Long Should a Maintained Opener Actually Last?
- What a Professional Maintenance Visit Should Include, in Writing
- Common Mistakes to Avoid
- When to Call a Professional
- Frequently Asked Questions
- The Bottom Line
Why Four Maintenance Windows Beat One Yearly Tune-Up
The “once a year is fine” advice assumes your garage door opener lives in a stable environment. It doesn’t, especially in Los Angeles, where July heat pushes trolley bearings past their clearance tolerances and February rain sends rust creeping into chain links. Each season attacks a different component. A yearly tune-up in spring, for example, prepares nothing for October’s humidity swing or December’s cold snaps. By August, the carriage is binding. By January, the chain is stiff. The damage stacks in months a single annual visit never covers.
We’ve seen this pattern for over two decades in Los Angeles, and the fix isn’t more expensive service. It’s four shorter checks, spaced 90 days apart. Each check focuses on what the upcoming season will stress. Total time invested? Maybe an hour a year. Cost? Under $20 in lubricant and nothing else, if you catch issues early at the door itself. Compare that to a $300 to $500 opener replacement when a sealed gear strips.
The Quarterly Maintenance Schedule, Season by Season
Here is the exact schedule we recommend to Los Angeles homeowners. Each quarter takes 10 to 20 minutes. Do them in order, every year, and your opener should run reliably past the decade mark.
Q1: Post-Winter (January to March) – Lubricate and Test Safety Reverse
- Lubricate the drive system. If you have a chain drive opener, apply white lithium grease to the chain while the door is closed. If you have a screw drive, run a thin bead of lithium grease along the full screw thread. Then cycle the door two or three times so the grease works into contact points.
- Remove rust from the chain. Los Angeles winter rain, especially in canyon-adjacent neighborhoods, leaves light surface rust on exposed chains. Wipe it with a rag first. Don’t spray it with anything yet, just wipe.
- Test the safety reverse. Place a block of wood, or better yet, a roll of paper towels, flat on the floor under the door’s path. Close the door. It should reverse within two seconds of hitting the obstacle. If it doesn’t, stop using the opener and call a professional. That reversing mechanism is the single most important safety feature on your door.
- Check the balance manually. Pull the red emergency release handle. The door should lift easily by hand and stay open about three feet off the ground. If it won’t, the door springs are carrying too little tension, and the opener is doing labor it wasn’t built for.
Q2: Pre-Summer (April to June) – Clean Photo-Eyes and Clear the Logic Board Vents
- Clean both photo-eye lenses. Find the two small boxes mounted near the floor on either side of the door track. Wipe each lens with a soft, dry, lint-free cloth. A few seconds of attention here stops the “door refuses to close” call we get every spring in Los Angeles as pollen and dust coat those lenses.
- Check the wall button and keypad. Press the wall button. If the button sticks or fails to respond on the first press, it may be getting dirty contacts. A quick blast of compressed air can help. If the problem persists, replacement wall buttons run $25 to $60, and they’re easy to swap.
- Inspect the opener motor housing for wasp nests and debris. In Los Angeles, specifically in foothill neighborhoods and anywhere with overhanging eaves, paper wasps build nests inside the opener’s plastic housing and around the logic board vents. Look for mud tubes, small white comb structures, or a buildup of dry grass. Carefully remove any debris with a shop vacuum. Don’t spray the motor housing with liquid insecticide, it can short the board. This exact issue causes more mid-summer opener failures than any other single factor in our Los Angeles service area.
- Verify the auto-reverse still works. Re-run the Q1 safety test. Summer heat expands metal and can slightly shift sensor alignment. Catching it now beats discovering it on a 95-degree afternoon.
Q3: Peak Heat (July to September) – Check the Trolley Carriage and Test the Manual Release
- Inspect the trolley carriage for binding. The trolley carriage is the sliding assembly that pulls the door arm along the rail. In peak Los Angeles heat, the metal rail expands and can cause the carriage to bind or chatter. Watch the opener run with the door open: if the carriage hesitates or makes a grinding sound mid-rail, stop and lubricate the rail contact points with white lithium grease.
- Test the manual disconnect. Pull the red emergency release cord. It should disengage cleanly with minimal effort. If it sticks or requires force, the carriage needs cleaning and relubrication.
- Listen for a change in motor pitch. A motor that suddenly sounds higher-pitched or labored in summer is often fighting a rail that’s out of alignment. A quick check now prevents a burned-out motor capacitor later.
- Re-torque mounting bolts if needed. Heat cycling can loosen the bolts holding the opener rail to the motor unit. With the opener unplugged, give each bolt a quarter-turn check with a socket wrench. Snug, not tight enough to crack the plastic housing.
Q4: Pre-Winter (October to December) – Wiring, Wall Button, and Backup Battery
- Inspect all accessible wiring connections. Look at the low-voltage wires running from the wall button and the photo-eyes to the motor unit. Check for frayed insulation, corrosion at the terminal screws, or rodent chew marks. In Los Angeles, roof rats are active in the fall and they’ll gnaw through opener wiring in attics and garages.
- Test the wall button continuity. If the button sometimes needs two or three presses to activate the door, replace it before it fails entirely on a rainy night. A basic doorbell-style button costs $10 to $20 and takes 10 minutes to swap.
- Test the backup battery. If your opener has battery backup, unplug the motor unit from the wall outlet. Press the remote or wall button. The door should still open and close, though often at reduced speed. If it doesn’t operate on battery alone, the battery has failed. Replacement batteries run $50 to $120, and installing one yourself is straightforward on most LiftMaster and Chamberlain models.
- Lubricate the hinges and rollers on the door itself. The opener only moves the door. If the door’s moving parts are stiff, the opener works harder. Use a silicone spray on nylon rollers and white lithium grease on metal hinges.
Which Lubricants Go Where, and Which Ones Damage Your Opener
This is where we see more preventable damage than anywhere else. The wrong lubricant doesn’t just fail to help, it actively shortens component life. Here’s the map, and it matters.
White Lithium Grease: The Workhorse for Metal-to-Metal Contact
Use white lithium grease on the chain, the screw thread, and any metal-on-metal contact points. It’s thick enough to stay in place, it won’t fling off a moving chain, and it doesn’t attract dust the way oil-based products do. A can costs $6 to $12 and lasts two years of quarterly maintenance.
Silicone Spray: For Plastic and Nylon Components
Use silicone spray on nylon rollers, plastic bushings, and the photo-eye mounting brackets. It’s plastic-safe and won’t degrade polymer components the way petroleum products do. It’s also the right choice for lubricating the rubber weatherstrip where the door meets the jamb, which helps the door seat cleanly and reduces the impact when it closes.
Never Use WD-40 on Springs, Chains, or Rollers
WD-40 is a solvent, not a lubricant. It’s designed to break up rust, not to provide lasting lubrication. On a chain it strips away whatever protective coating remains and accelerates wear. On torsion springs, it wicks into the coils and attracts grit that grinds the spring as it flexes, shortening spring life. On nylon rollers, the petroleum distillates can soften or discolor the plastic. If you’ve used WD-40 on opener components before, wipe it off thoroughly and reapply the correct lubricant. One misapplication isn’t fatal, but repeated use is.
Battery Backup Maintenance: Testing Before the Outage
A battery-backup opener is a great feature in Los Angeles, where rolling blackouts and storm outages have become a regular occurrence. But the battery is a consumable, just like a car battery. It has a finite service life of 2 to 4 years, and it fails silently. Homeowners almost always discover the dead battery during the exact moment they need it: the power is out, the car is stuck inside, and the manual release is the only way out.
The fix is simple. Test the battery every quarter as part of your scheduled maintenance. Here’s how:
- Unplug the motor unit from the ceiling outlet.
- Confirm the opener still functions using the wall button or remote. The door moves slower on battery power, that’s normal.
- Reconnect the power and observe the indicator light on the motor unit. On most LiftMaster and Chamberlain models, a green light means the battery is charged. A solid red or blinking light often means the battery has failed and needs replacement.
- Do this test at least every three months, with a full test in Q4 before the rainy season, when outages are most common in Los Angeles.
Replacement batteries for a battery-backup opener run $50 to $120. The model number is typically printed on the battery itself. On most units, the battery is user-replaceable with a screwdriver, no special tools required. If the motor unit is more than four years old and you’ve never replaced the battery, plan on replacing it at your next scheduled maintenance window.
How Long Should a Maintained Opener Actually Last?
A properly maintained garage door opener should run 10 to 15 years. That number assumes quarterly lubrication, regular sensor cleaning, and prompt attention to odd noises. It also assumes the door itself stays balanced. An unbalanced door can cut opener life in half because the motor is doing the spring’s job.
Skip lubrication altogether, and the realistic lifespan drops to about 7 years. That’s the difference between one opener in 15 years and two or three. At $350 to $600 per replacement, plus installation labor in Los Angeles, skipping $10 worth of lithium grease per year costs you real money.
Here’s what the failure curve looks like by component:
- Drive gear: Typically fails at 8 to 10 years if lubricated, 5 to 6 years if not. We replace these the most on openers from the major brands including Chamberlain, LiftMaster, and Genie.
- Trolley carriage: Lasts the life of the opener when cleaned and lubricated quarterly. Unmaintained, it binds by year 4 and stalls by year 6.
- Logic board: The most heat-sensitive component. In a poorly ventilated garage, it can fail by year 7 in Los Angeles summers. This is also where wasp damage hits hardest.
- Motor capacitor: The $25 part that fails first when the door is out of balance and the motor cycles under load repeatedly. It’s a 15-minute fix for a professional.
- Backup battery: Not a failure so much as a scheduled replacement item. Expect 2 to 4 years, period, regardless of how often it’s used.
What a Professional Maintenance Visit Should Include, in Writing
If you prefer a professional do the quarterly calendar for you, make sure you’re paying for more than a quick glance and a spray of lubricant. A real maintenance visit should include a written checklist, and you should receive a copy. Here’s what belongs on it.
- Door balance test. The technician disconnects the opener and checks the door’s unassisted balance at the halfway point. This is the most important test because it tells you if the springs are doing their job.
- Safety reverse test, performed twice. Once on the opener’s force setting, once on the photo-eye beam. Both results recorded.
- Lubrication of all moving components: chain or screw, trolley carriage, door hinges, and rollers. The technician should specify what lubricant was applied where.
- Photo-eye alignment and lens cleaning. Verify the beam is unobstructed and both sensors show solid indicator lights.
- Wiring inspection. All accessible low-voltage wiring checked for wear, corrosion, or rodent damage.
- Opener force and limit settings. Confirm the opener isn’t traveling too far or reversing too easily. These settings drift over time and cause the door to slam or reverse unexpectedly.
- Battery backup test, if applicable. Power disconnected, backup function verified, battery voltage recorded.
A vague “tune-up” often skips the balance test, skips the force settings, and skips the wiring inspection. Those three omissions are exactly where the most expensive problems hide. At Doyle Garage Door Repair, every maintenance visit includes the written checklist above, plus the price in writing before work starts. If the door isn’t right after we leave, the 365-Day Done Right Promise means we come back and make it right at no charge. You can see our full approach on the Doyle Garage Door Repair home page, or read what’s included in Garage Door Repair in Grandview to see how we handle preventive work in person.
Common Mistakes to Avoid
- Using WD-40 as a lubricant. It’s a solvent, not a lubricant. It strips chain coatings and attracts grit into torsion springs. If you’ve used it once, wipe it off and reapply lithium grease.
- Skipping the safety reverse test because “it worked last year.” The auto-reverse mechanism can drift out of adjustment in six months. A door that doesn’t reverse on obstruction is a serious safety hazard, especially in homes with children or pets.
- Ignoring a door that hangs halfway or won’t stay up manually. This almost always means worn springs. The opener isn’t designed to lift a door whose springs have lost tension. Running it anyway burns out the motor and drive gear.
- Neglecting the photo-eye lenses. Los Angeles dust and pollen coat those lenses quickly. A door that reverses for no visible reason is often just a dirty lens. Clean them quarterly.
- Never testing the backup battery because “we haven’t had an outage.” The battery doesn’t care whether it’s been used. It ages on the shelf. Test it quarterly and replace it every 2 to 4 years.
- Over-tightening mounting bolts. The opener motor housing is plastic. Over-tightening cracks the housing and shorts the board. Snug by hand, no more than a quarter turn past resistance.
- One-size-fits-all annual maintenance. A spring visit doesn’t prepare your opener for winter rain or fall rodents. The seasonal schedule exists because each season attacks different components.
When to Call a Professional
Some maintenance steps are DIY-friendly. Others cross into territory where a wrong move turns a $50 fix into a $500 replacement. Call a professional if the door doesn’t reverse on the obstruction test, if the balance test fails, if the trolley binds repeatedly despite lubrication, or if you see sparks, smell burning plastic, or hear grinding from inside the motor housing. Also call if you find what looks like rodent damage on wiring, a wasp nest inside the motor unit that you can’t safely reach, or a cracked logic board. These are not situations where another round of silicone spray solves anything. If you spot these Garage Door Opener Repair Warning Signs Every Homeowner Should Know, call Doyle Garage Door Repair for a free estimate in Los Angeles. Call (910) 858-8029 and a live person answers, day or night, weekends or holidays. Every technician is background-checked and identity-verified under the Threshold Standard, and we send you their name and photo before they arrive. When they ring the bell, you already know exactly who’s at the door.
Frequently Asked Questions
Perform a short maintenance check every quarter, roughly every 90 days. Four checks per year, each focused on what the upcoming season stresses. If you prefer a professional handle it, one comprehensive visit per year, plus your own quarterly quick checks, keeps most openers running 10 to 15 years.
The drive gear and trolley carriage wear through metal contact. Life expectancy drops from 10 to 15 years down to about 7 years. The first component to fail is usually the drive gear, which we commonly replace on LiftMaster and Chamberlain units.
No. WD-40 is a solvent that strips lubrication and attracts grit. Use white lithium grease on metal-to-metal contact points like chains and screw threads, and silicone spray on nylon and plastic components.
A professional maintenance visit in Los Angeles typically runs $75 to $150 for a thorough written inspection and lubrication service. Basic DIY maintenance costs under $20 per year, which is what a can of white lithium grease and a can of silicone spray run combined. For an exact figure on maintenance or repairs in your neighborhood, call (910) 858-8029 and ask.
Intermittent operation usually traces to a failing wall button, a dirty or misaligned photo-eye lens, or a worn logic board connection-see our Garage Door Opener Repair Troubleshooting: Common Problems and How to Fix Them for deeper diagnostics. Start with the wall button and the sensors, those are the most common culprits and the cheapest to address.
Unplug the motor unit from the wall outlet, then press the wall button. If the door opens, the battery is functioning. If the door doesn’t move, or the unit shows a red or blinking indicator light, the battery has failed. Replace backup batteries every 2 to 4 years, regardless of apparent condition. For context on what a full opener repair entails, see Garage Door Opener Repair in Grandview.
The Bottom Line
A garage door opener asks for about an hour of attention per year, broken across four seasonal checks. Q1 lubricates and tests the safety reverse after winter. Q2 cleans photo-eyes and clears motor housing vents before summer heat, and yes, wasp nests are a real problem in Los Angeles foothills. Q3 examines the trolley carriage under peak heat load. Q4 preps wiring and the backup battery before winter outages. Skip the schedule and the drive gear doesn’t just fail early, it fails without warning at the worst moment. Follow it, and a $350 opener runs past its decade birthday. That’s the return on a $10 can of grease and ten minutes every three months. If a problem shows up during any of these checks, our Garage Door Opener Repair services are available-call (910) 858-8029, and we’ll send a named, photo-verified technician to your Los Angeles door with the price in writing before any work begins.
Written by Aaron Teague, Owner at Doyle Garage Door Repair, serving Los Angeles since 2001.