
Last updated October 9, 2026
Full 25-point door and opener safety check with every visit - springs, cables, rollers, tracks, and your LiftMaster or Chamberlain opener included
You get a price before we start. It does not change when the truck arrives.
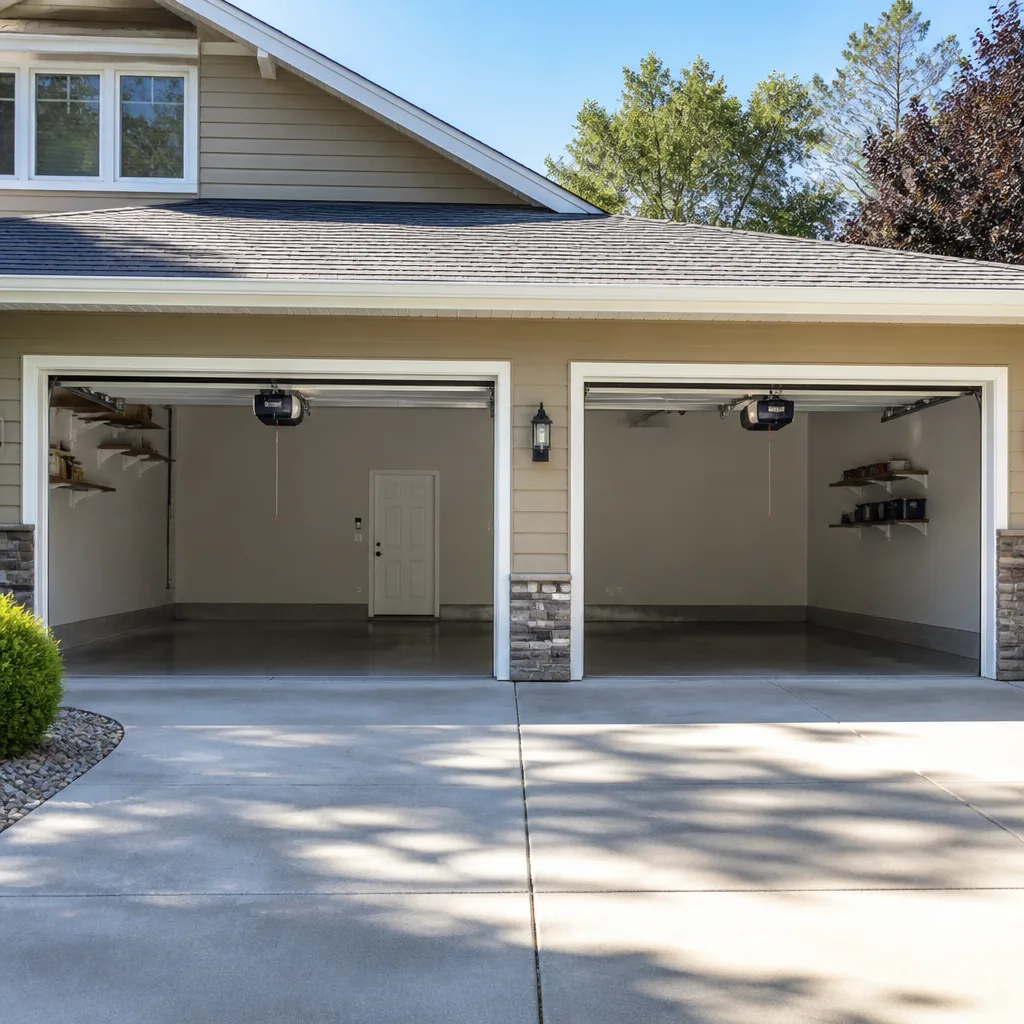
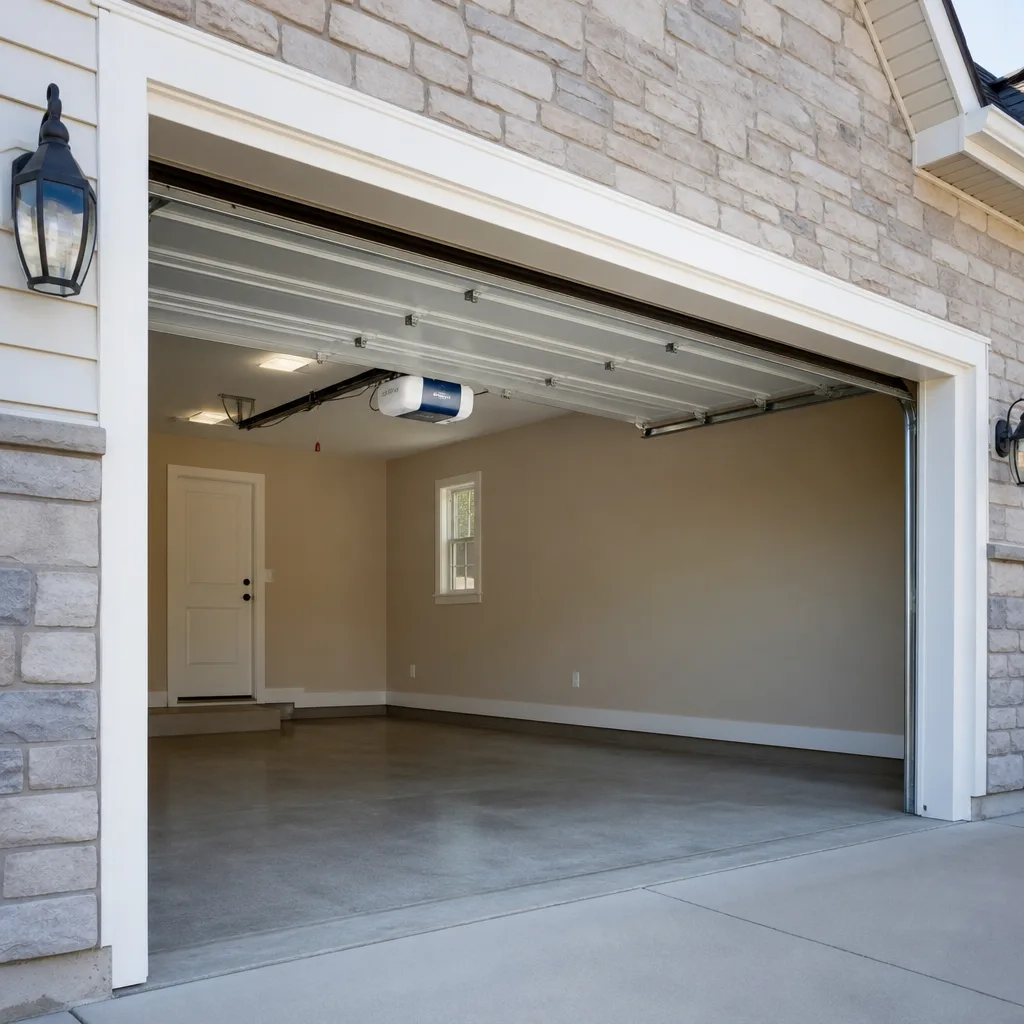
 Before
 After
After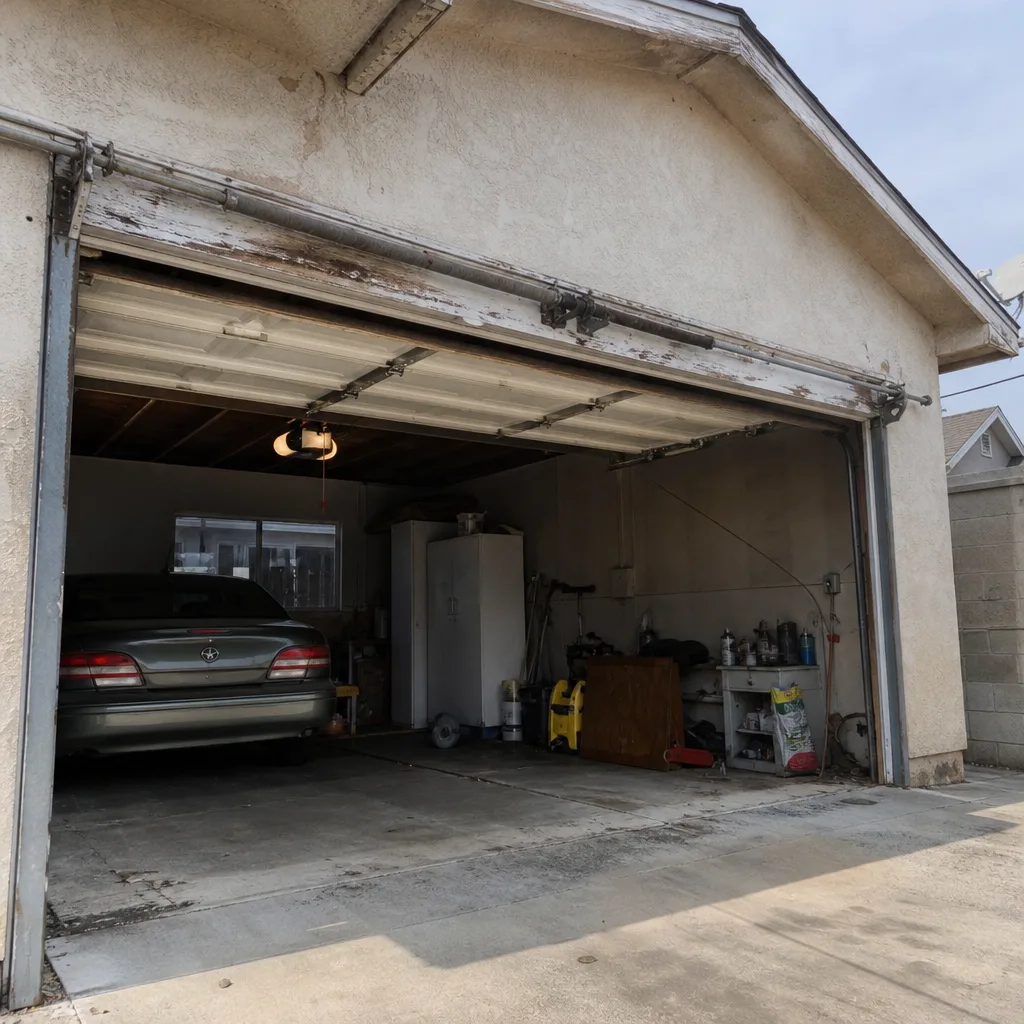 Before
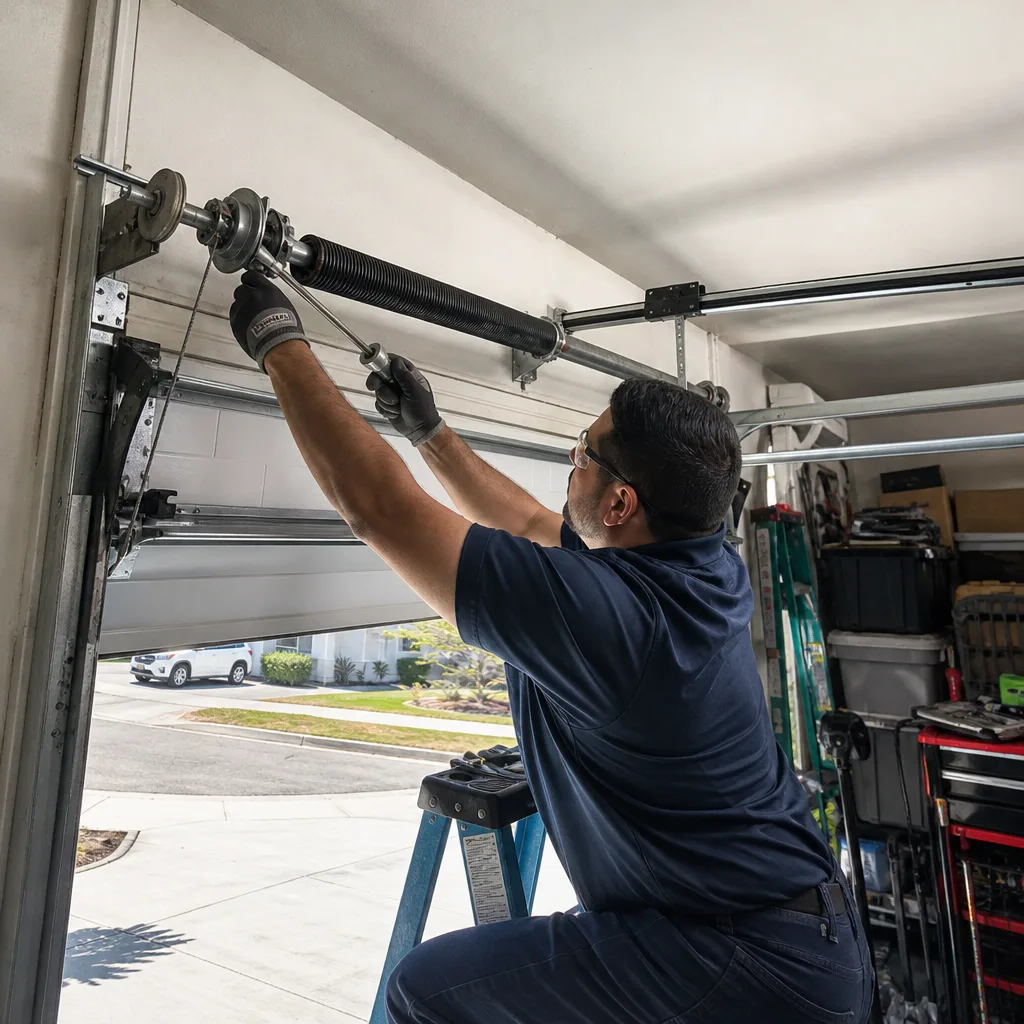 After
After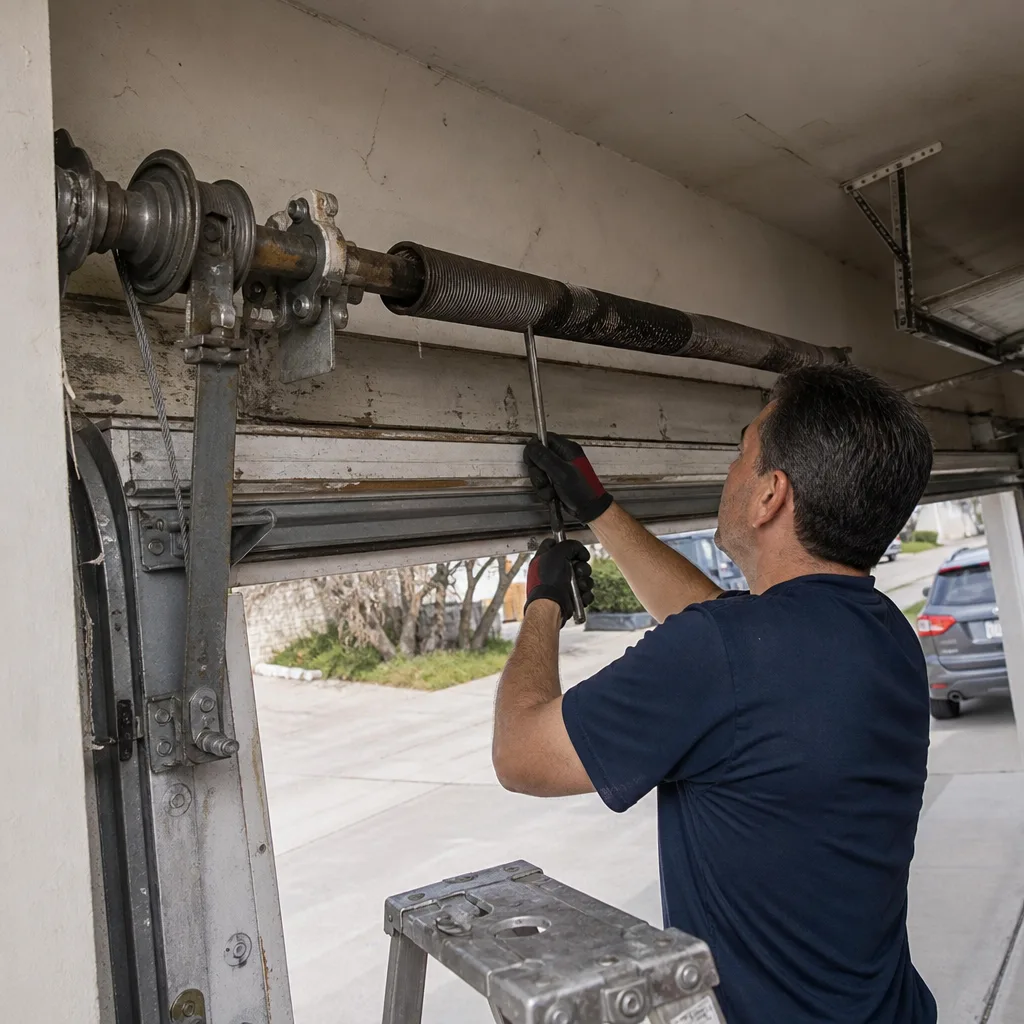 Before
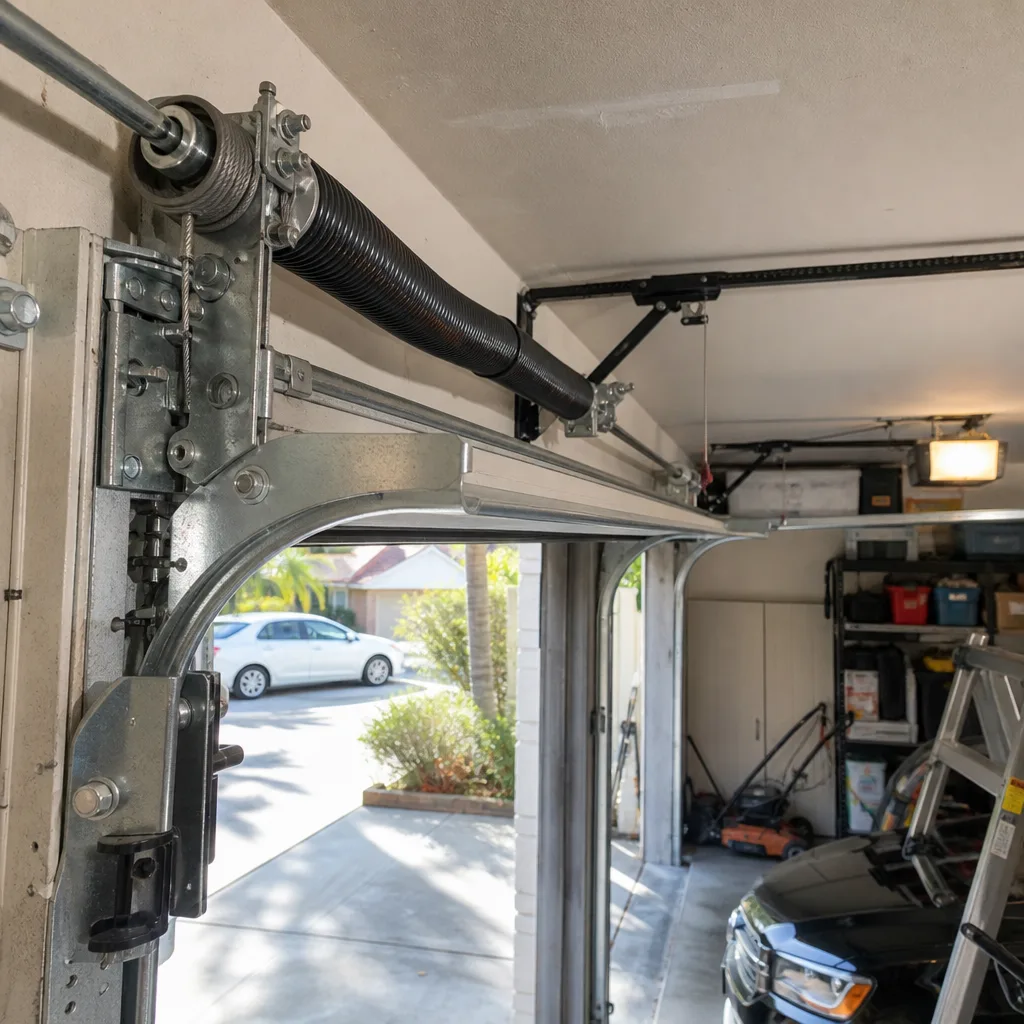 After
AfterDIY vs Professional Garage Door Installation: What’s Safe to Do Yourself
A residential garage door weighs between 150 and 300 pounds, and the torsion spring that counterbalances it holds enough tension to send a steel winding bar through drywall if it lets go. That’s the part YouTube tutorials tend to gloss over. This guide walks you through exactly which installation tasks a careful homeowner in Los Angeles can handle, which ones require a calibrated tool you don’t own, and where the line between saving money and creating a liability actually sits. For a deeper look at this decision, see our DIY vs Professional Garage Door: The Los Angeles Homeowner’s Decision Guide.
Quick Answer
Full garage door installation is not a safe DIY project. The spring winding, track leveling, and cable drum seating steps require professional tools and carry injury risk that isn’t worth it. What a homeowner can safely do is prep work and peripheral upgrades: painting the new door before it’s hung, installing a keypad or smart opener on an existing balanced door, and replacing weatherstripping.
Table of Contents
- The Consequence Problem: Why Installation Is Different From Repair
- What’s Genuinely DIY-Viable in an Installation
- The Three Steps That Require Professional Tools
- The Liability Question: What Your Insurer Thinks About DIY Doors
- The Real Cost Comparison: DIY vs Professional in Los Angeles
- What to Look for in a Professional Installation Contract
- Los Angeles-Specific Installation Considerations
- Common Mistakes to Avoid
- When to Call a Professional
The Consequence Problem: Why Installation Is Different From Repair
A misaligned track or an over-wound spring doesn’t announce itself. The door goes up. It comes down. Everything looks fine. Then somewhere around cycle 400, the cable slips off a drum that was never seated correctly, and the door drops onto whatever is underneath it. In our experience installing doors across Los Angeles, from West Hills to Atwater Village, the failures we see from DIY jobs are never dramatic explosions on day one. They’re slow, cumulative failures that surface months later, usually at the worst possible moment.
The reason installation is different from repair is that repair addresses a single failed component on a system that was once professionally installed. Installation asks you to be correct about every component, simultaneously, under tension, with no reference point for what “correct” feels like. A torsion spring that’s one quarter-turn over doesn’t look any different. A track that’s off by three degrees doesn’t rattle. The defects are invisible until they’re not.
In Los Angeles, we also deal with a specific aggravating factor: the temperature swing between a 95-degree valley afternoon and a 50-degree coastal night causes metal components to expand and contract. A door that’s borderline misaligned in August will bind in January. The margin for error here is thinner than in more temperate parts of the country.
What’s Genuinely DIY-Viable in an Installation
Let’s be fair about this. There are tasks surrounding an installation that a competent homeowner should absolutely do, and doing them saves real money without any meaningful risk.
1. Painting the new door before it’s hung. A bare steel or aluminum door takes paint far more evenly when it’s flat on sawhorses than when it’s vertical and installed. You’ll get better coverage on the panel recesses, you won’t drip paint onto the weatherstripping, and you skip the masking work entirely. Factor Garage, Amarr, and Wayne Dalton doors all accept standard exterior acrylic latex. Just make sure the door is fully dry before the installation crew arrives. Paint that hasn’t cured will bond to the protective film and peel when it’s removed.
2. Installing a keypad or smart opener bridge on an existing door. If your current door opens and closes smoothly and the issue is just that you want keyless entry or app control, this is a genuinely plug-and-play task. A LiftMaster 878MAX keypad or a Chamberlain myQ bridge mounts to the wall with two screws and syncs to the opener with a learn-button sequence that takes four minutes. The critical caveat: this is only safe if the door is already properly balanced. If the door drifts when you disconnect the opener trolley carriage, the problem is spring tension, and that’s not a keypad fix. For opener-specific repair decisions, see DIY vs Professional Garage Door Opener Repair: What’s Safe to Do Yourself.
3. Replacing weatherstripping on a door that’s already hung and balanced. The bottom seal slides out of its aluminum channel and a replacement pushes right back in. The side and top stop molding strips either nail or screw in. This is maintenance, not installation, but it often gets bundled into an installation project, and there’s no reason to pay labor for a 20-minute job you can do with a utility knife and a drill.
4. Running the low-voltage wiring for a new opener. Two-conductor thermostat wire from the opener location to the wall button is a safe, code-friendly task. You’re working with 24 volts. The dangerous part of opener installation is mounting the opener itself and setting the limit switches correctly on a door that must be perfectly balanced first.
The Three Steps That Require Professional Tools
There are three specific installation steps that separate a DIY attempt from a professional job. Each one requires a tool the average Los Angeles homeowner doesn’t own, and each one has a failure mode that’s genuinely dangerous.
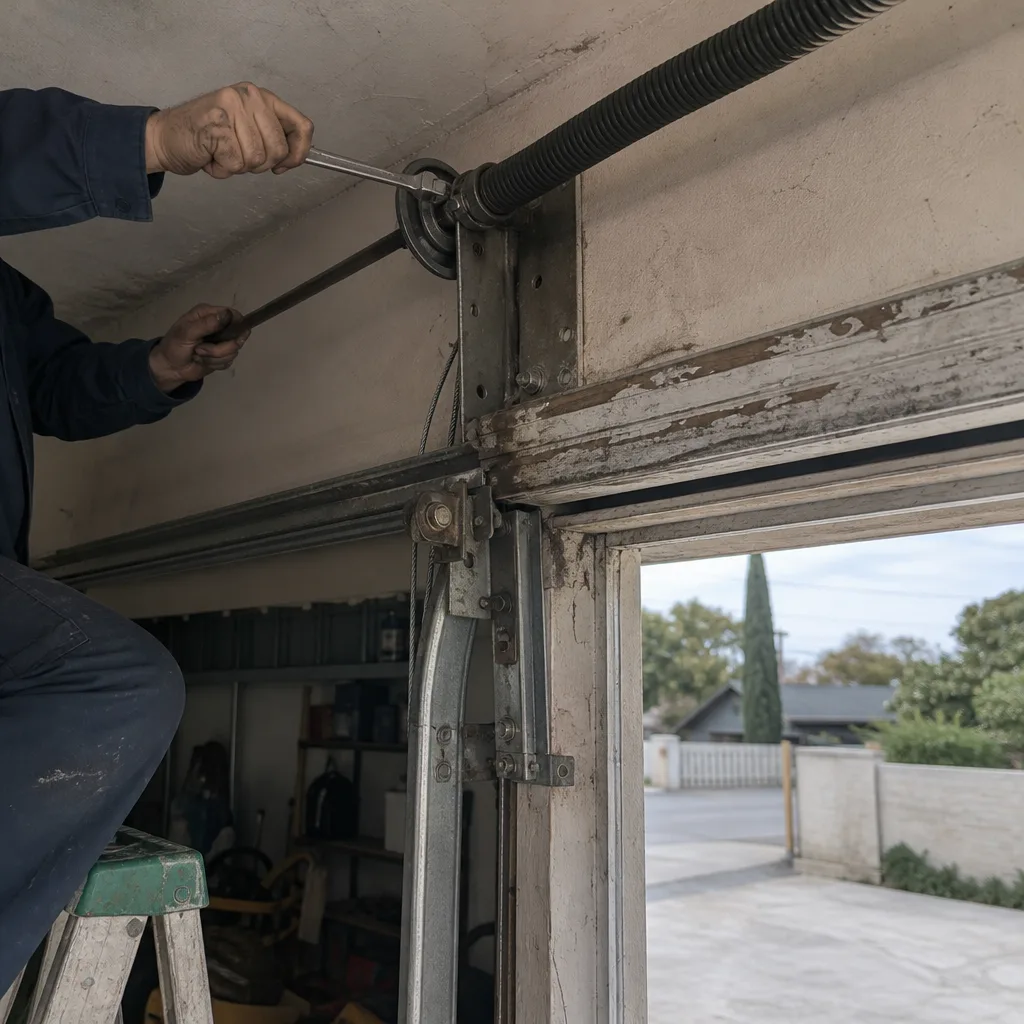
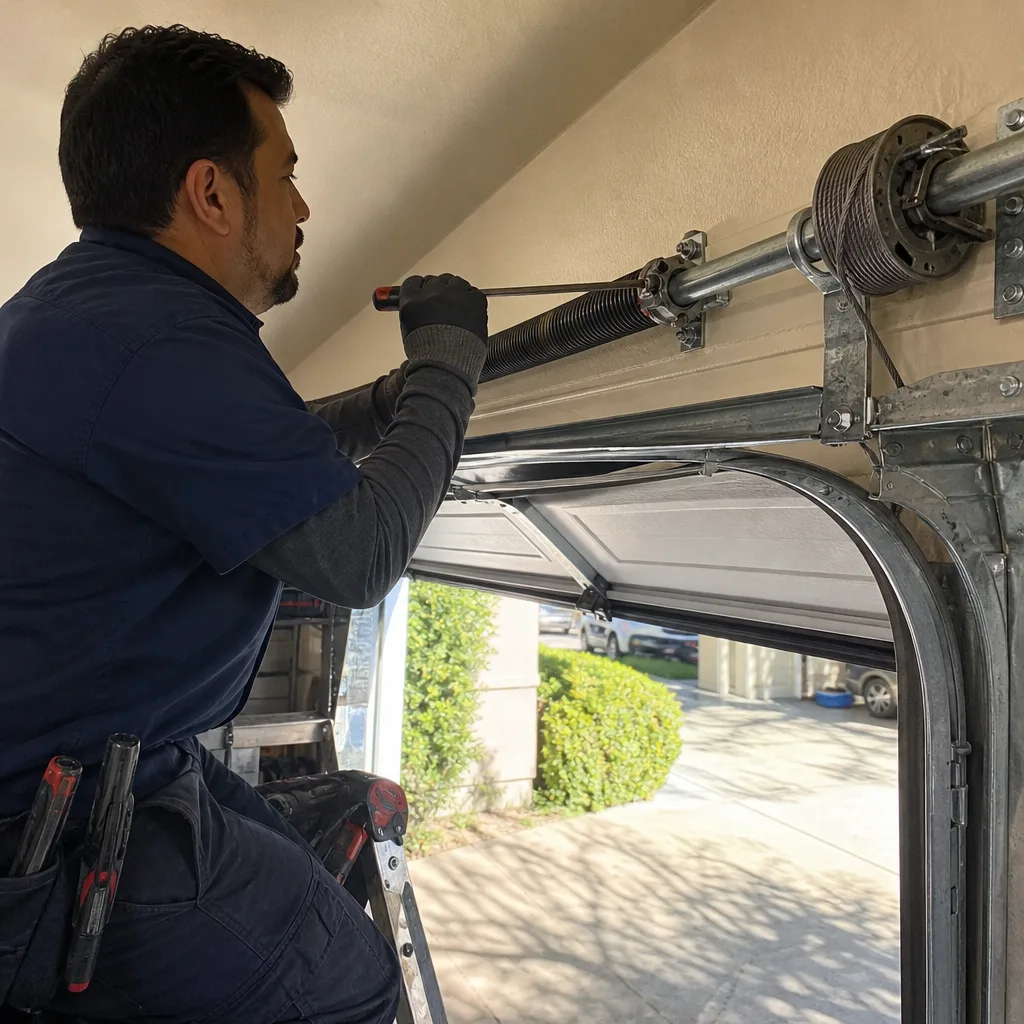
1. Spring winding. A torsion spring is the large coil mounted above the door that does most of the lifting. Winding it correctly requires calibrated winding bars inserted into the spring cone, and the number of turns is specific to the door’s weight, height, and spring wire gauge. The correct number comes from a torque reference chart supplied by the spring manufacturer, and it’s not a guess. Too few turns and the door won’t stay up. Too many turns and the spring is over-stressed, which shortens its life and increases the snap risk. The winding bars the average person buys at a hardware store are not the right length or diameter for residential springs, and a bar that slips out of the cone under load becomes a projectile at head height. This is the single most common garage-door injury mechanism, and it’s the one step where we will say plainly: do not do this yourself.
2. Track leveling. The vertical and horizontal tracks that guide the rollers must be plumb and level to within a tolerance that’s measured in fractions of an inch over an 8-foot run. Professional installers use a laser level and a specific fastener torque spec for the lag bolts that secure the track brackets to the framing. A track that’s off by a half-inch at the header can bind the door at the halfway point, and a binding door strains the opener’s trolley carriage, the springs, and the cables. The resulting wear looks like a series of separate failures over the next year. It’s actually one error, baked in on installation day.
3. Cable drum seating. The lift cables that run along each side of the door wind onto grooved drums at the top. Both drums must be seated with matching tension while the cables are under load. The sequence is: tension the cable, seat the drum, lock it with the set screws, then verify both sides wind evenly across the full lift. A cable that seats one groove off will wind unevenly and eventually slip off the drum entirely, at which point the door drops diagonally and bends its own panels. The tool that makes this safe is experience, specifically the ability to feel correct tension on a cable without a gauge. That’s not something a YouTube video can teach.
The Liability Question: What Your Insurer Thinks About DIY Doors
Here’s the part that most DIY guides skip entirely. If your self-installed garage door injures someone, or a cable failure drops a panel onto a parked car, your homeowner’s insurance may not cover it. Many policies carry exclusions for damage caused by self-installed mechanical systems, particularly when the system in question requires professional installation under the manufacturer’s published warranty terms. Amarr, Wayne Dalton, Craftsman, and Raynor all publish installation requirements. If the door falls and the insurer determines the installation didn’t meet manufacturer spec, you’re on your own.
The 10-minute call to your insurer before you start is the cheapest, highest-leverage step in the whole decision process. Ask three questions: Does my policy cover damage or injury from a self-installed garage door? Does my policy require professional installation for garage door systems? Is there any documentation I need to keep if I install the door myself and something goes wrong?
In Los Angeles, where parking spaces are tight and garage-adjacent living is common, the injury and damage exposure is higher than in areas with detached garages set back from the house. A door that fails onto a car in a shared driveway or a carport in Echo Park isn’t a rare edge case. It’s a foreseeable outcome.
The Real Cost Comparison: DIY vs Professional in Los Angeles
The DIY math usually only counts the door. The honest math counts tools, time, and the likely follow-up service call. This is the Los Angeles market picture.
DIY Installation: What You Actually Spend
- 16×7 steel single door (Amarr or Wayne Dalton): $900 – $1,400
- Winding bar set + laser level + torque wrench rental: $90 – $140
- Fastener kit, shims, weatherstripping: $60 – $110
- Time cost (one full weekend, two people): 14 – 18 hours
- Likely re-service call when the door binds or drops: $180 – $340
- Total realistic DIY cost: $1,230 – $1,990
Professional Installation: A Detailed Breakdown
- 16×7 steel single door (same Amarr or Wayne Dalton models), supplied and installed: $1,800 – $2,600
- Old door haul-away: Included, with the exception of some independent operators who charge $50 – $100
- New opener installation (motor, rail, safety sensors, wall button): $400 – $650 for a chain or belt drive Chamberlain or LiftMaster
- Documented spring wind count and track spec: Included, standard, written down
- Warranty: 365-Day Done Right Promise covering parts and labor, in writing, with a free second visit if the repair fails
In our experience, the “savings” of DIY installation in Los Angeles is roughly $500 – $700 before accounting for time, and it typically evaporates the first time the door needs a professional to correct a wind count or a track alignment. Doyle Garage Door Repair charges exactly what’s on the written estimate, which you receive before a single bolt is turned, so there’s no surprise on the back end. The price is quoted and agreed before any work starts, every time.
What to Look for in a Professional Installation Contract
If you decide to hire a professional, and we think you should for full installation, the contract is where the quality gets proven or exposed. Here’s what a genuinely good installation contract includes:
- Spring type and wind count documented. The contract should state the spring wire gauge, the number of turns wound, and the date. This proves the installer wasn’t guessing, and it gives you a reference point if the door’s balance changes a year later.
- Track gauge specified. Not all tracks are interchangeable. The contract should state the track thickness and configuration, because undersized track on a heavy door is a common cost-cutting move that fails slowly.
- Opener model and warranty period listed. If you’re buying a Chamberlain, LiftMaster, or Raynor opener as part of the install, the exact model number should be on the contract with the warranty term.
- Haul-away of the old door included or explicitly excluded. This is a line item that gets skipped and then billed for later. It should be stated in writing.
- A written guarantee covering parts and labor. Not a verbal promise. Doyle Garage Door Repair puts the 365-day guarantee in writing on every repair, and the free second visit is automatic if the repair fails within that year. No argument required, no call back to ask for permission.
Los Angeles-Specific Installation Considerations
Installing a garage door in Los Angeles isn’t the same as installing one in Phoenix or Minneapolis. The climate, the building stock, and the seismic exposure all shape what a good installation looks like.
Salt air and coastal corrosion. If you’re within a few miles of the coast, from Palos Verdes up through Santa Monica and into the Palisades, your mounting hardware is in a salt-spray environment. Galvanized lag bolts and brackets corrode faster. Stainless steel hardware is an upgrade worth paying for on coastal installs, and it’s a detail the average DIYer doesn’t think about until the bracket fails.
Seismic bracing. Los Angeles building code, specifically the residential provisions that echo the LADBS requirements, calls for garage door tracks to be braced against lateral movement. A properly installed track system is anchored not just to the header but to the wall framing at multiple points. That’s code compliance, not optional reinforcement, and it’s one more reason to have a professional who knows the local requirements handle the job.
Older garages and non-standard openings. Much of Los Angeles housing stock predates modern garage door dimensions. If your opening is 7 feet high but the standard door is now 6-feet-6 or 8 feet, or if your garage has a beam that’s settled half an inch, the installation requires shimming and adjustment that a template-installed door won’t accommodate. We see this constantly in the Craftsman bungalows of Highland Park and the Spanish-style homes of the Fairfax district.
Heat and spring fatigue. A dark steel door in direct Los Angeles sun absorbs heat, and the spring mounted above it operates hotter. That accelerates spring fatigue. The correct spring for a hot, south-facing San Fernando Valley garage might be a different wire gauge than the catalog lists for the same door in a shaded Beverly Hills garage. This is the kind of judgment call a factory-trained technician makes, not a homeowner reading a chart.
Common Mistakes to Avoid
- Assuming a balanced door is a safe door. A door can balance perfectly on day one and still have a cable drum that’s not fully seated. The failure happens months later. Balance is a snapshot, not a guarantee.
- Using the wrong winding bars. Hardware-store rods are not the right diameter for residential torsion spring cones. A bar that doesn’t seat fully in the cone is a missile waiting for the moment the spring unloads.
- Skipping the manufacturer’s installation manual for the spring, not the door. The door manual tells you how the panels connect. The spring manual tells you the torque spec. The spring manual is the one that matters for safety.
- Reusing old track with a new door. Track gauge and condition matter more than the panels. New door on old, worn track is the most common half-installation we get called to fix in Los Angeles.
- Not consulting your insurer before starting. A 10-minute call tells you whether your policy covers self-installed mechanical systems. Not knowing is not a defense when something fails.
- Underestimating the time cost with a partner. A full installation requires two people for the panel-lifting stages. If your second person bails, you’re lifting a 150-pound panel alone, and that’s how back injuries happen.
- Ignoring seismic bracing requirements in Los Angeles. Code is not a suggestion. Unbraced track in a seismic zone is a fine and a future wall repair.
When to Call a Professional
Call a professional for full door installation, any work involving torsion spring winding or cable drum seating, any repair to a door that’s off its track, and any job where the door weighs more than you can confidently lift with one hand. If your opener stops working and the door itself is fine, that’s a repair call, and it’s often a simple fix. Doyle Garage Door Repair offers free estimates in Los Angeles. Call (910) 858-8029 and a real person answers, day, night, weekend, or holiday, not a voicemail tree. You’ll get a written price before any work starts, and the technician’s name and photo are sent to you before they arrive, so you know exactly who’s coming to your door.
Frequently Asked Questions
You can physically do it, but the full installation, specifically spring winding, track leveling, and cable drum seating, carries injury and liability risk that most homeowners shouldn’t accept. The DIY-viable parts are prep work like painting the door and peripheral upgrades like keypads and weatherstripping. For the full installation, we recommend a professional. Call (910) 858-8029 for a free written estimate.
A 16×7 steel single door from Amarr or Wayne Dalton, supplied and installed, typically runs $1,800 to $2,600 in Los Angeles. That includes haul-away of the old door and, with Doyle Garage Door Repair, a written guarantee covering parts and labor for 365 days. The price is always quoted and agreed in writing before any work begins.
No. Torsion spring winding is the single most dangerous garage door task, and it requires calibrated winding bars and a torque reference chart specific to the spring’s wire gauge and the door’s weight. A small error in wind count isn’t visible until the spring unloads, and a slipping winding bar can cause serious injury. We strongly recommend a trained professional for any spring work.
Possibly not. Many policies exclude damage from self-installed mechanical systems when the installation doesn’t meet the manufacturer’s published requirements. Call your insurer before you start and ask directly. The answer you get may change your whole calculation.
Painting a new door before it’s hung, installing a keypad or smart opener bridge on an existing balanced door, replacing weatherstripping, and running low-voltage opener wiring are all genuinely DIY-viable. None of these tasks involve spring tension or track alignment, which is why they’re safe.
Ask for the technician’s name and photo before the visit, a written estimate before any work starts, and a written guarantee on the repair. Doyle Garage Door Repair is part of the Threshold Group family and operates under the Threshold Standard: every technician is background-checked, identity-verified, and arrives in a marked uniform with a photo ID badge. A live person answers (910) 858-8029 around the clock.
The Bottom Line
Full garage door installation is a professional job, not because it’s intellectually complicated, but because the consequences of small errors compound over hundreds of cycles until they fail suddenly. The spring, the track, and the cable drums are not forgiving systems, and in Los Angeles the climate, the seismic code, and the density of garage-adjacent living raise the stakes. What’s safe to do yourself is the prep and the peripheral upgrades. What requires a professional is the installation itself, done with documented spring wind counts, laser-leveled track, and a written guarantee that covers the work for a full year. If you’re weighing the decision, explore our more guides & resources or get a free written estimate first. Call (910) 858-8029 and talk to a real person who can walk you through exactly what your installation will cost and who will show up at your door.
Written by Aaron Teague, Owner at Doyle Garage Door Repair, serving Los Angeles since 2001.